We are football fanatics in our house…and I really mean fanatics. Sunday is a day long football fest…Seahawks and Broncos games, the RedZone Channel, fantasy teams, and food…yes, I said it, food! No football Sunday is complete without some sort of glutenous array of game day foods (usually consisting of pizza, nachos, wings, dips, and other unhealthy grub).
I have tried the route of going more more healthy…and even succeeded a few times in substituting chili or soup and salad…but have never really scored a touchdown with the family on game day options…until now! Instead of trying to swap out the menu completely, I decided to keep the menu options the same, and just switch out the ingredients we use to make them.

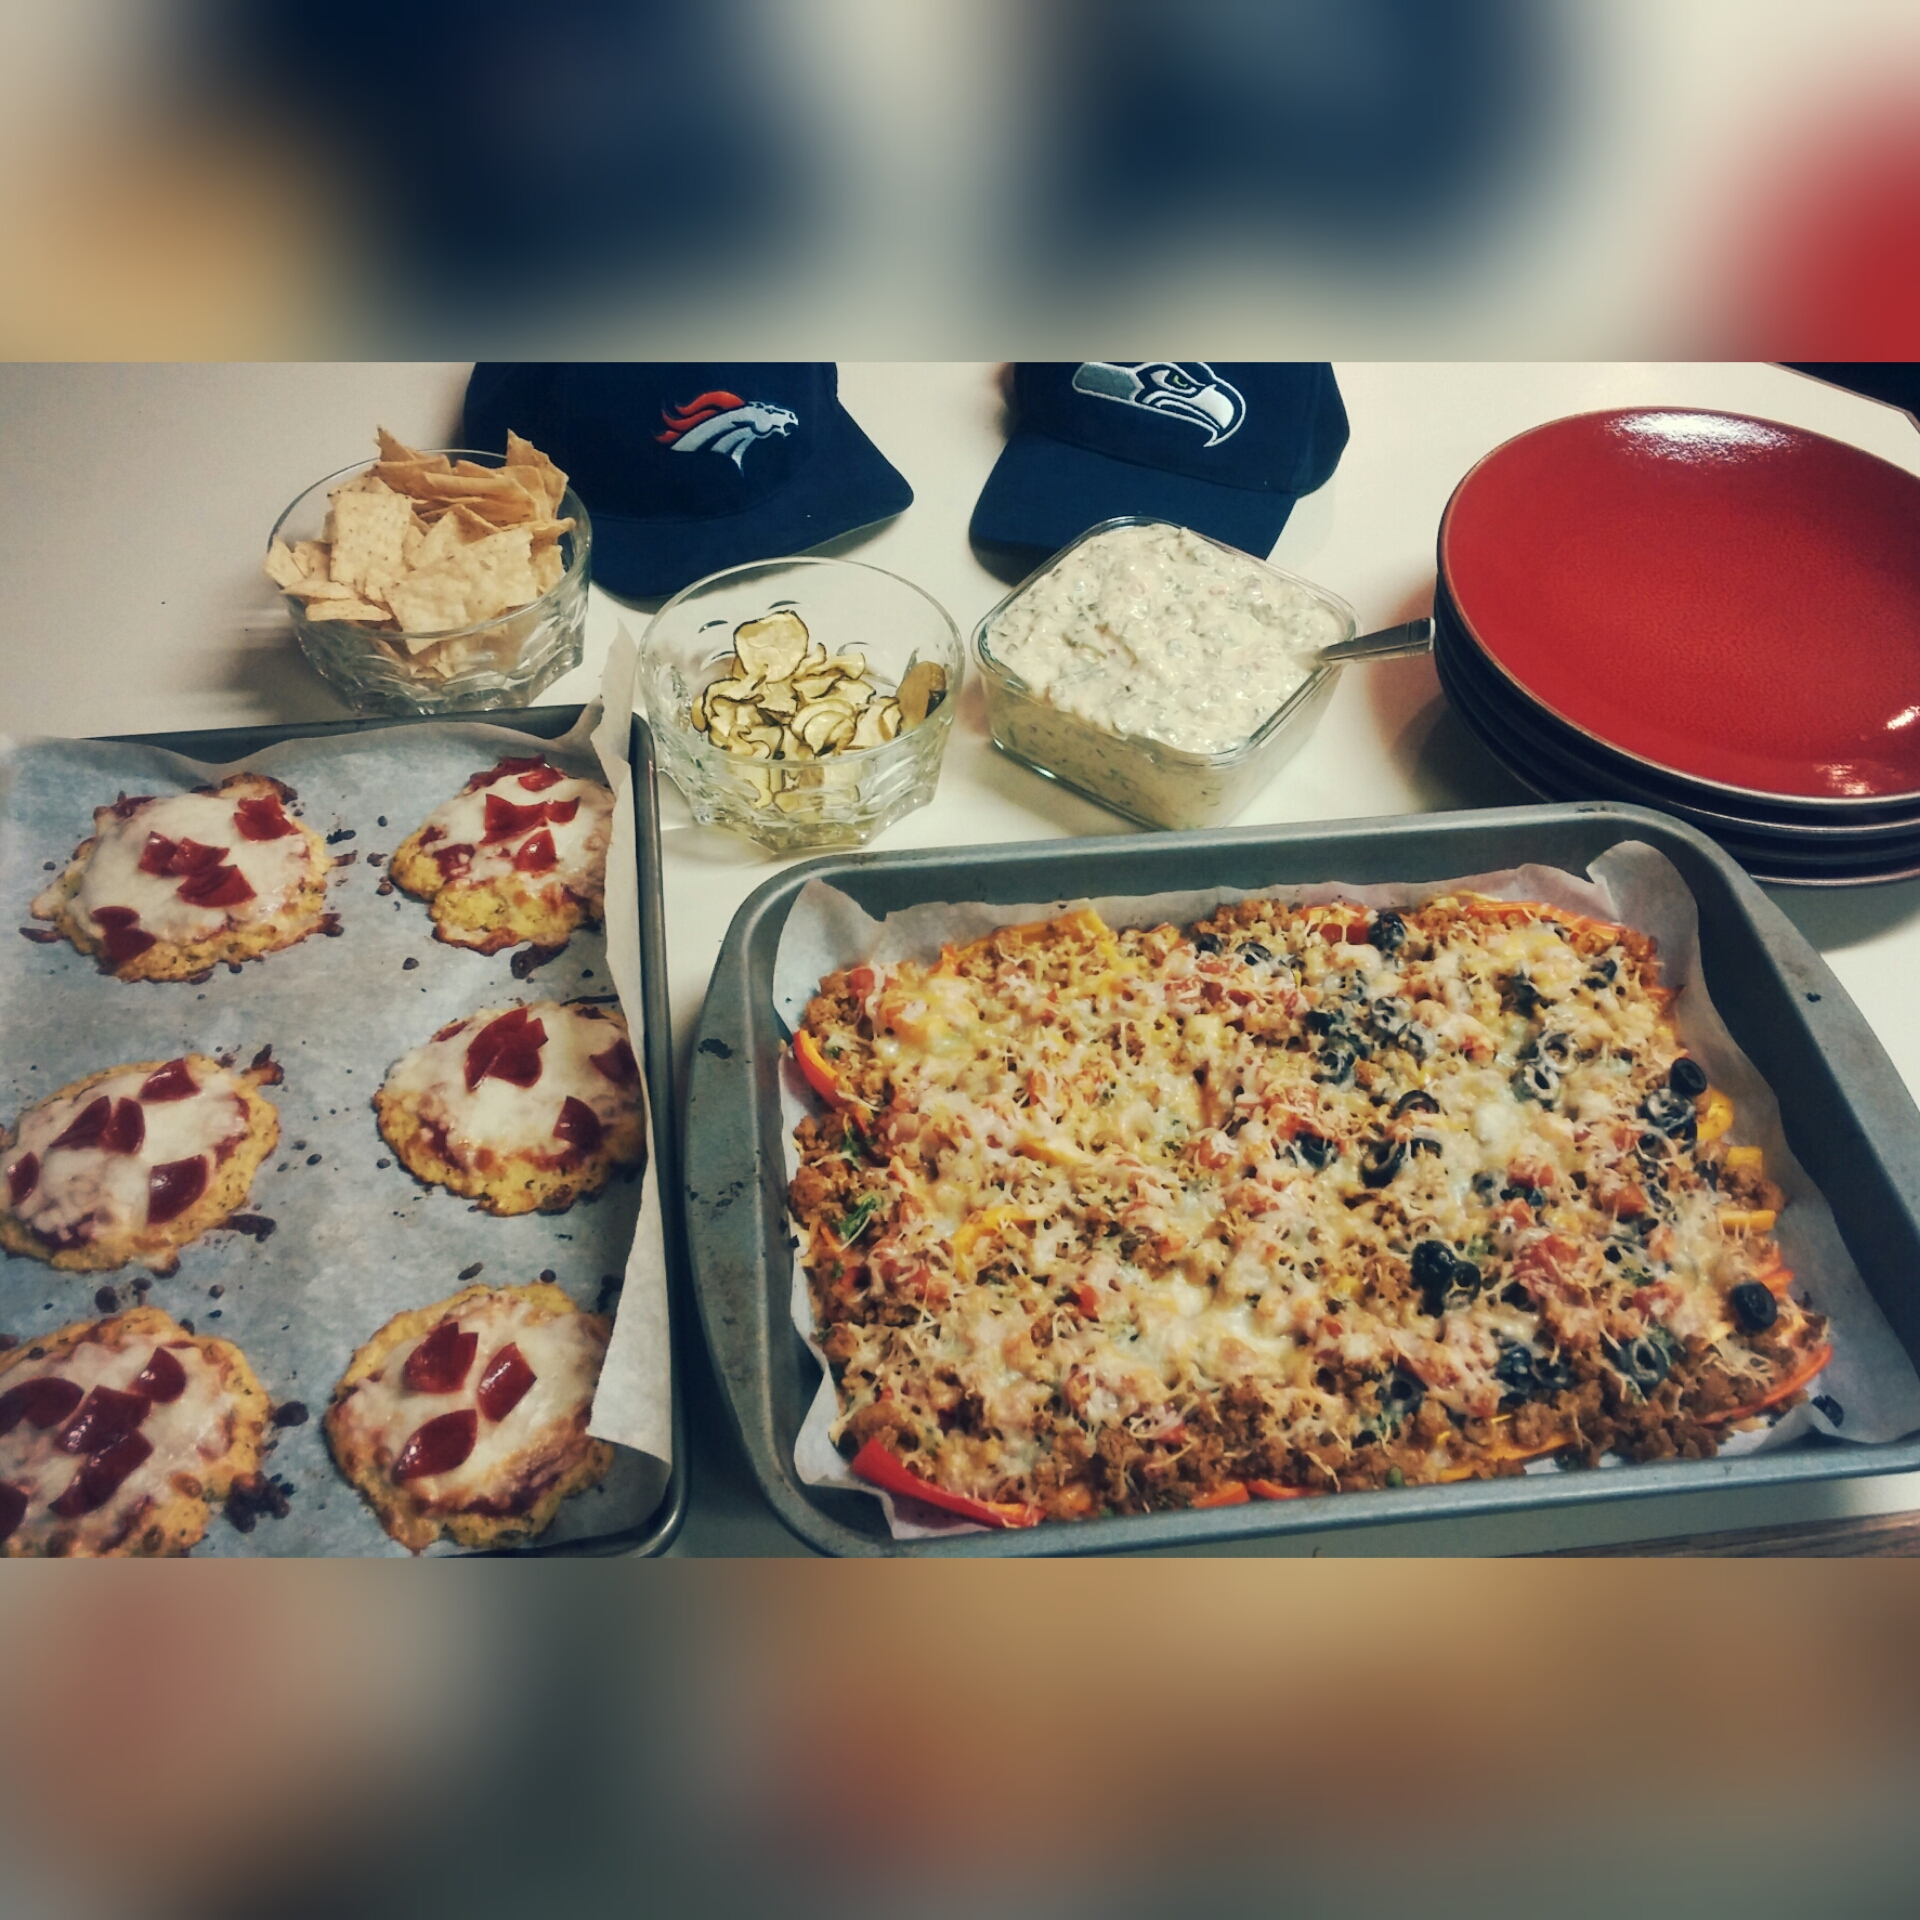
If you are looking for some healthy game day options, trust me- try these! My family loved them…and are even on board to having all of them on game days to come!
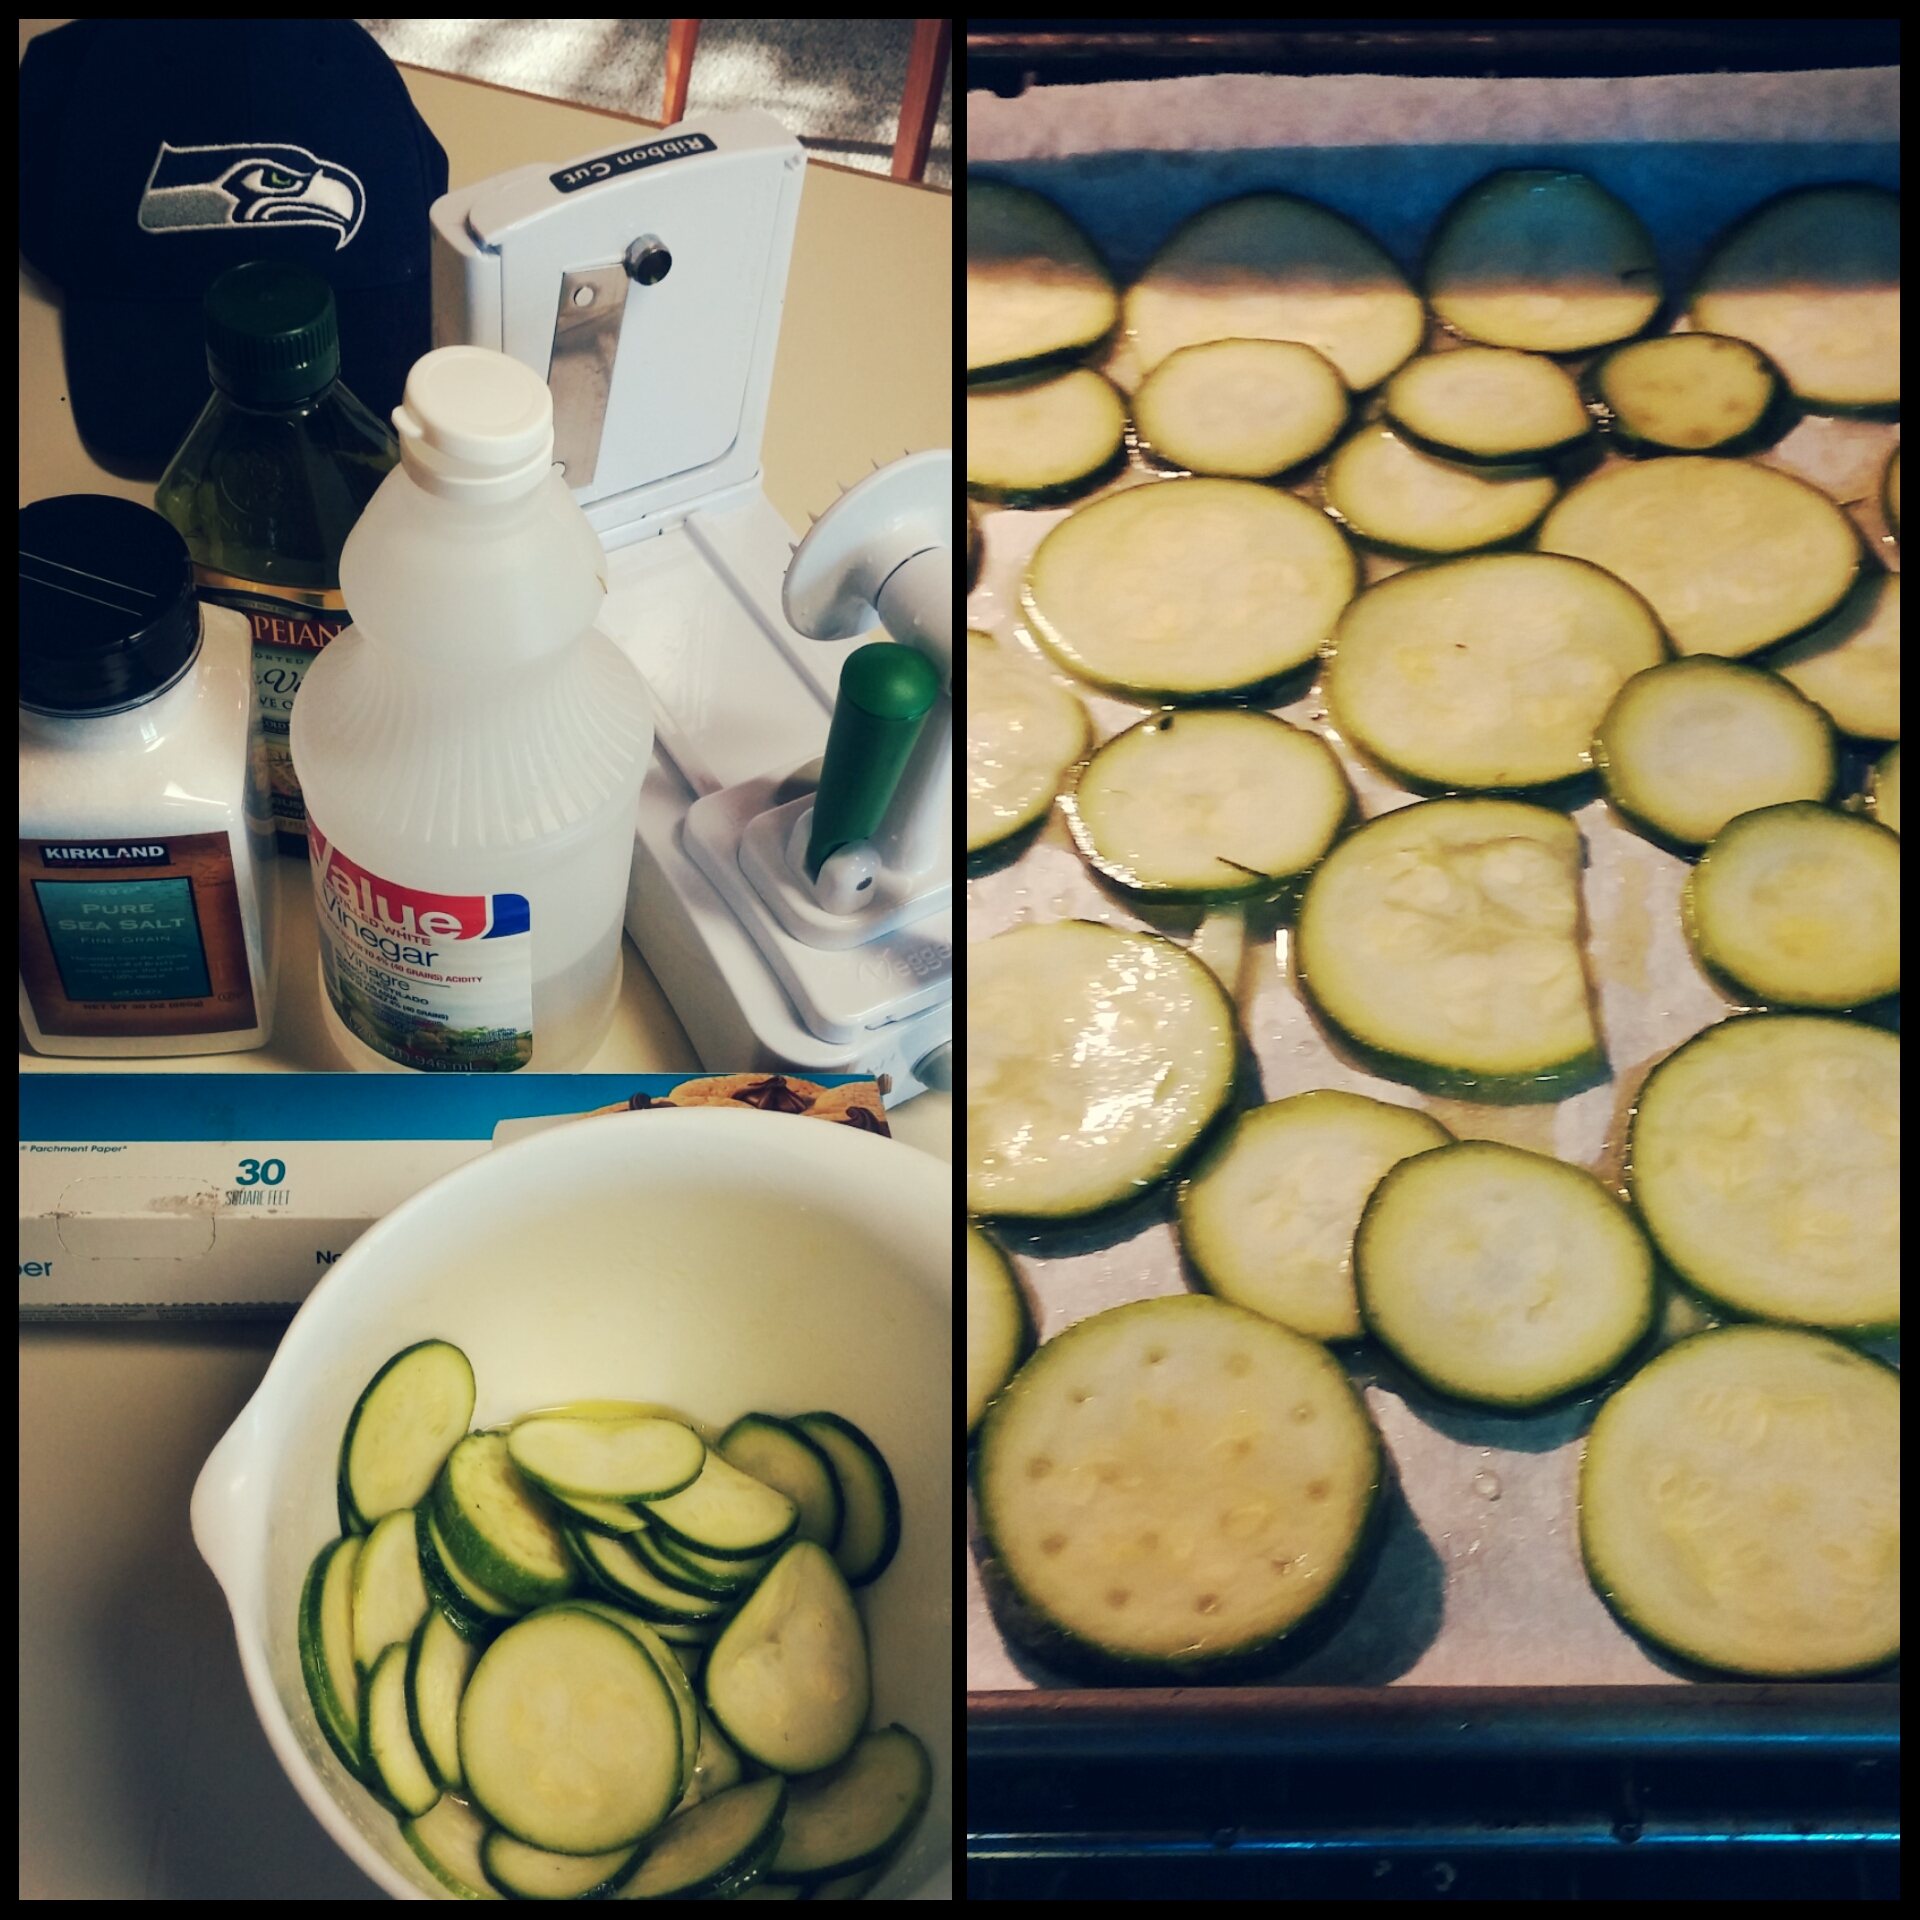
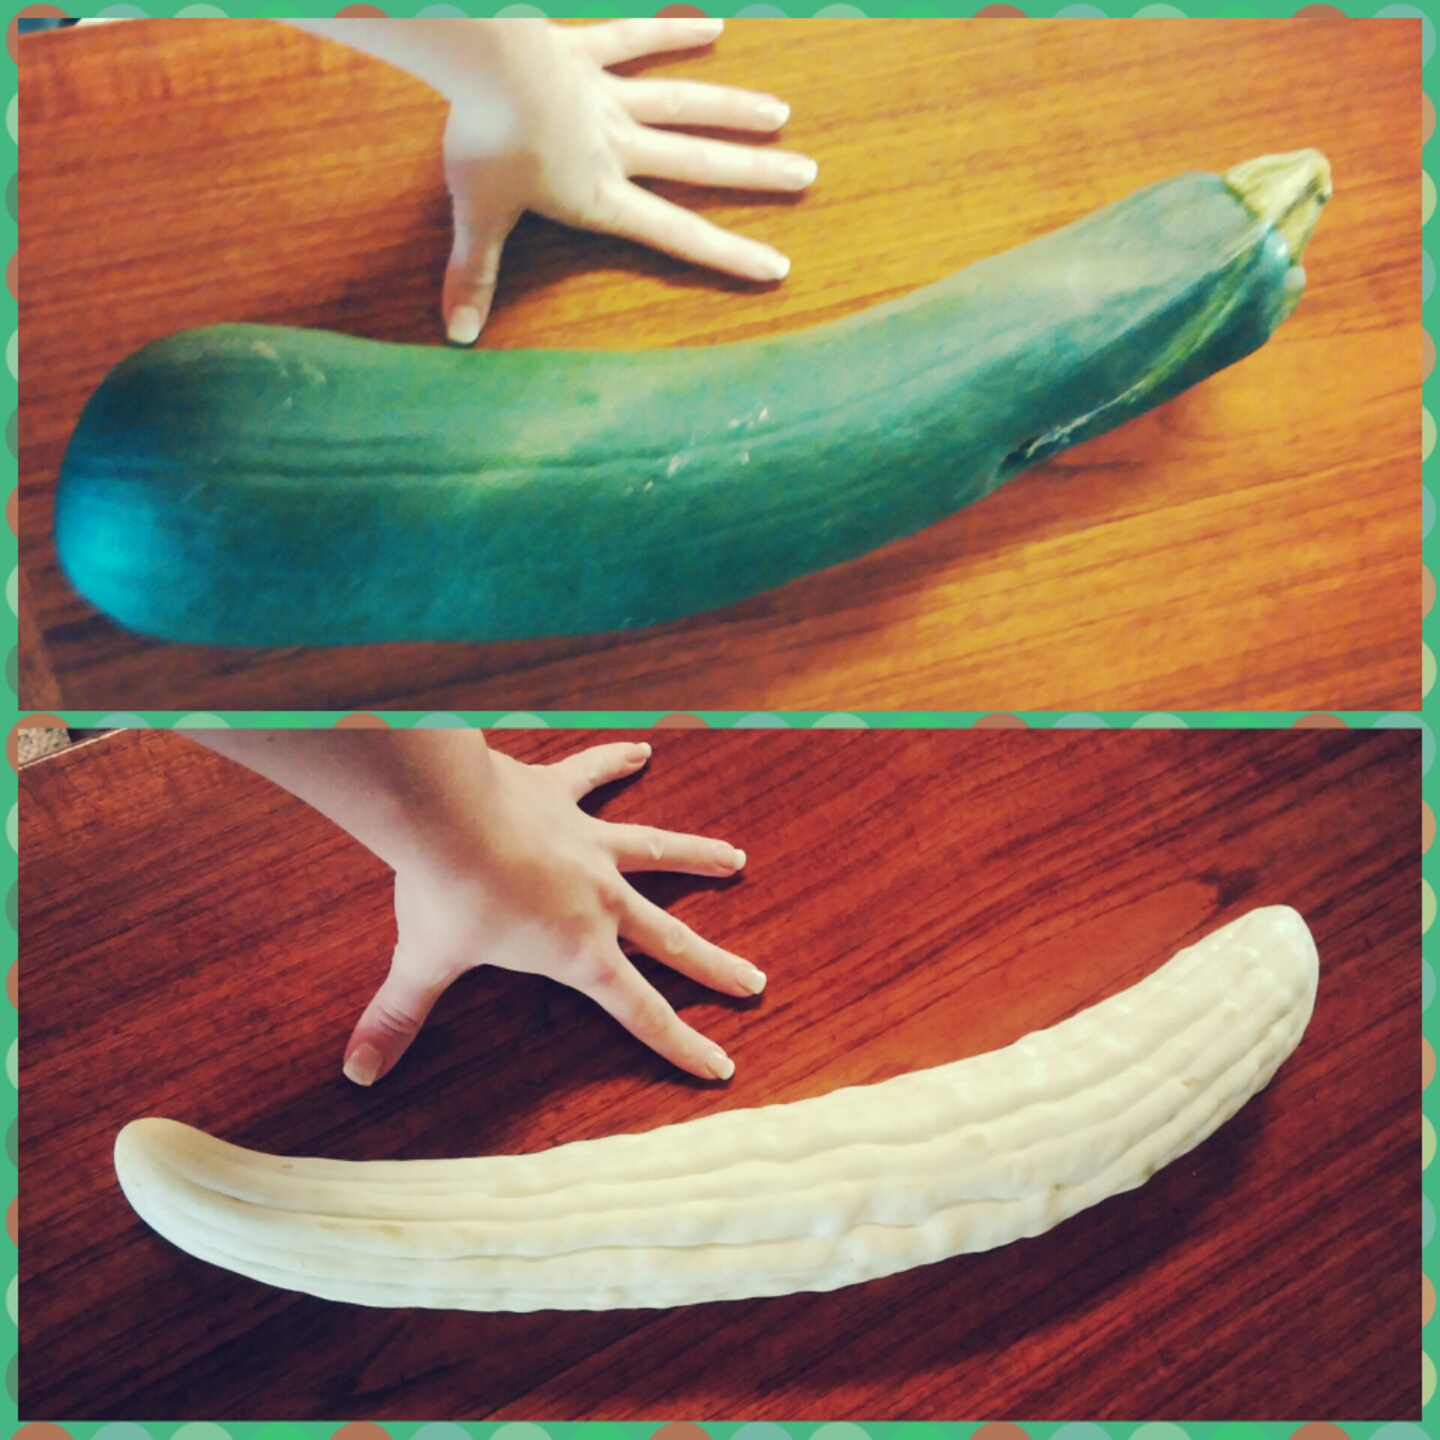
zucchini CHIPS:

- Slice 2-3 zucchini into slices (I used my Spiralizer slicer…if you don’t have one- think about investing in one, they are amazing!)
- Mix 2 Tbsp EVOO & 2 Tbsp White Balsamic Vinegar in a small bowl
- Toss zucchini slices in mixture
- Place on a cookie sheet covered with parchment paper
- Coat with approximately 2 tsp Sea Salt
- Cook at 200˚ for 2-3 hours, until crisp- rotating 1/2 way through
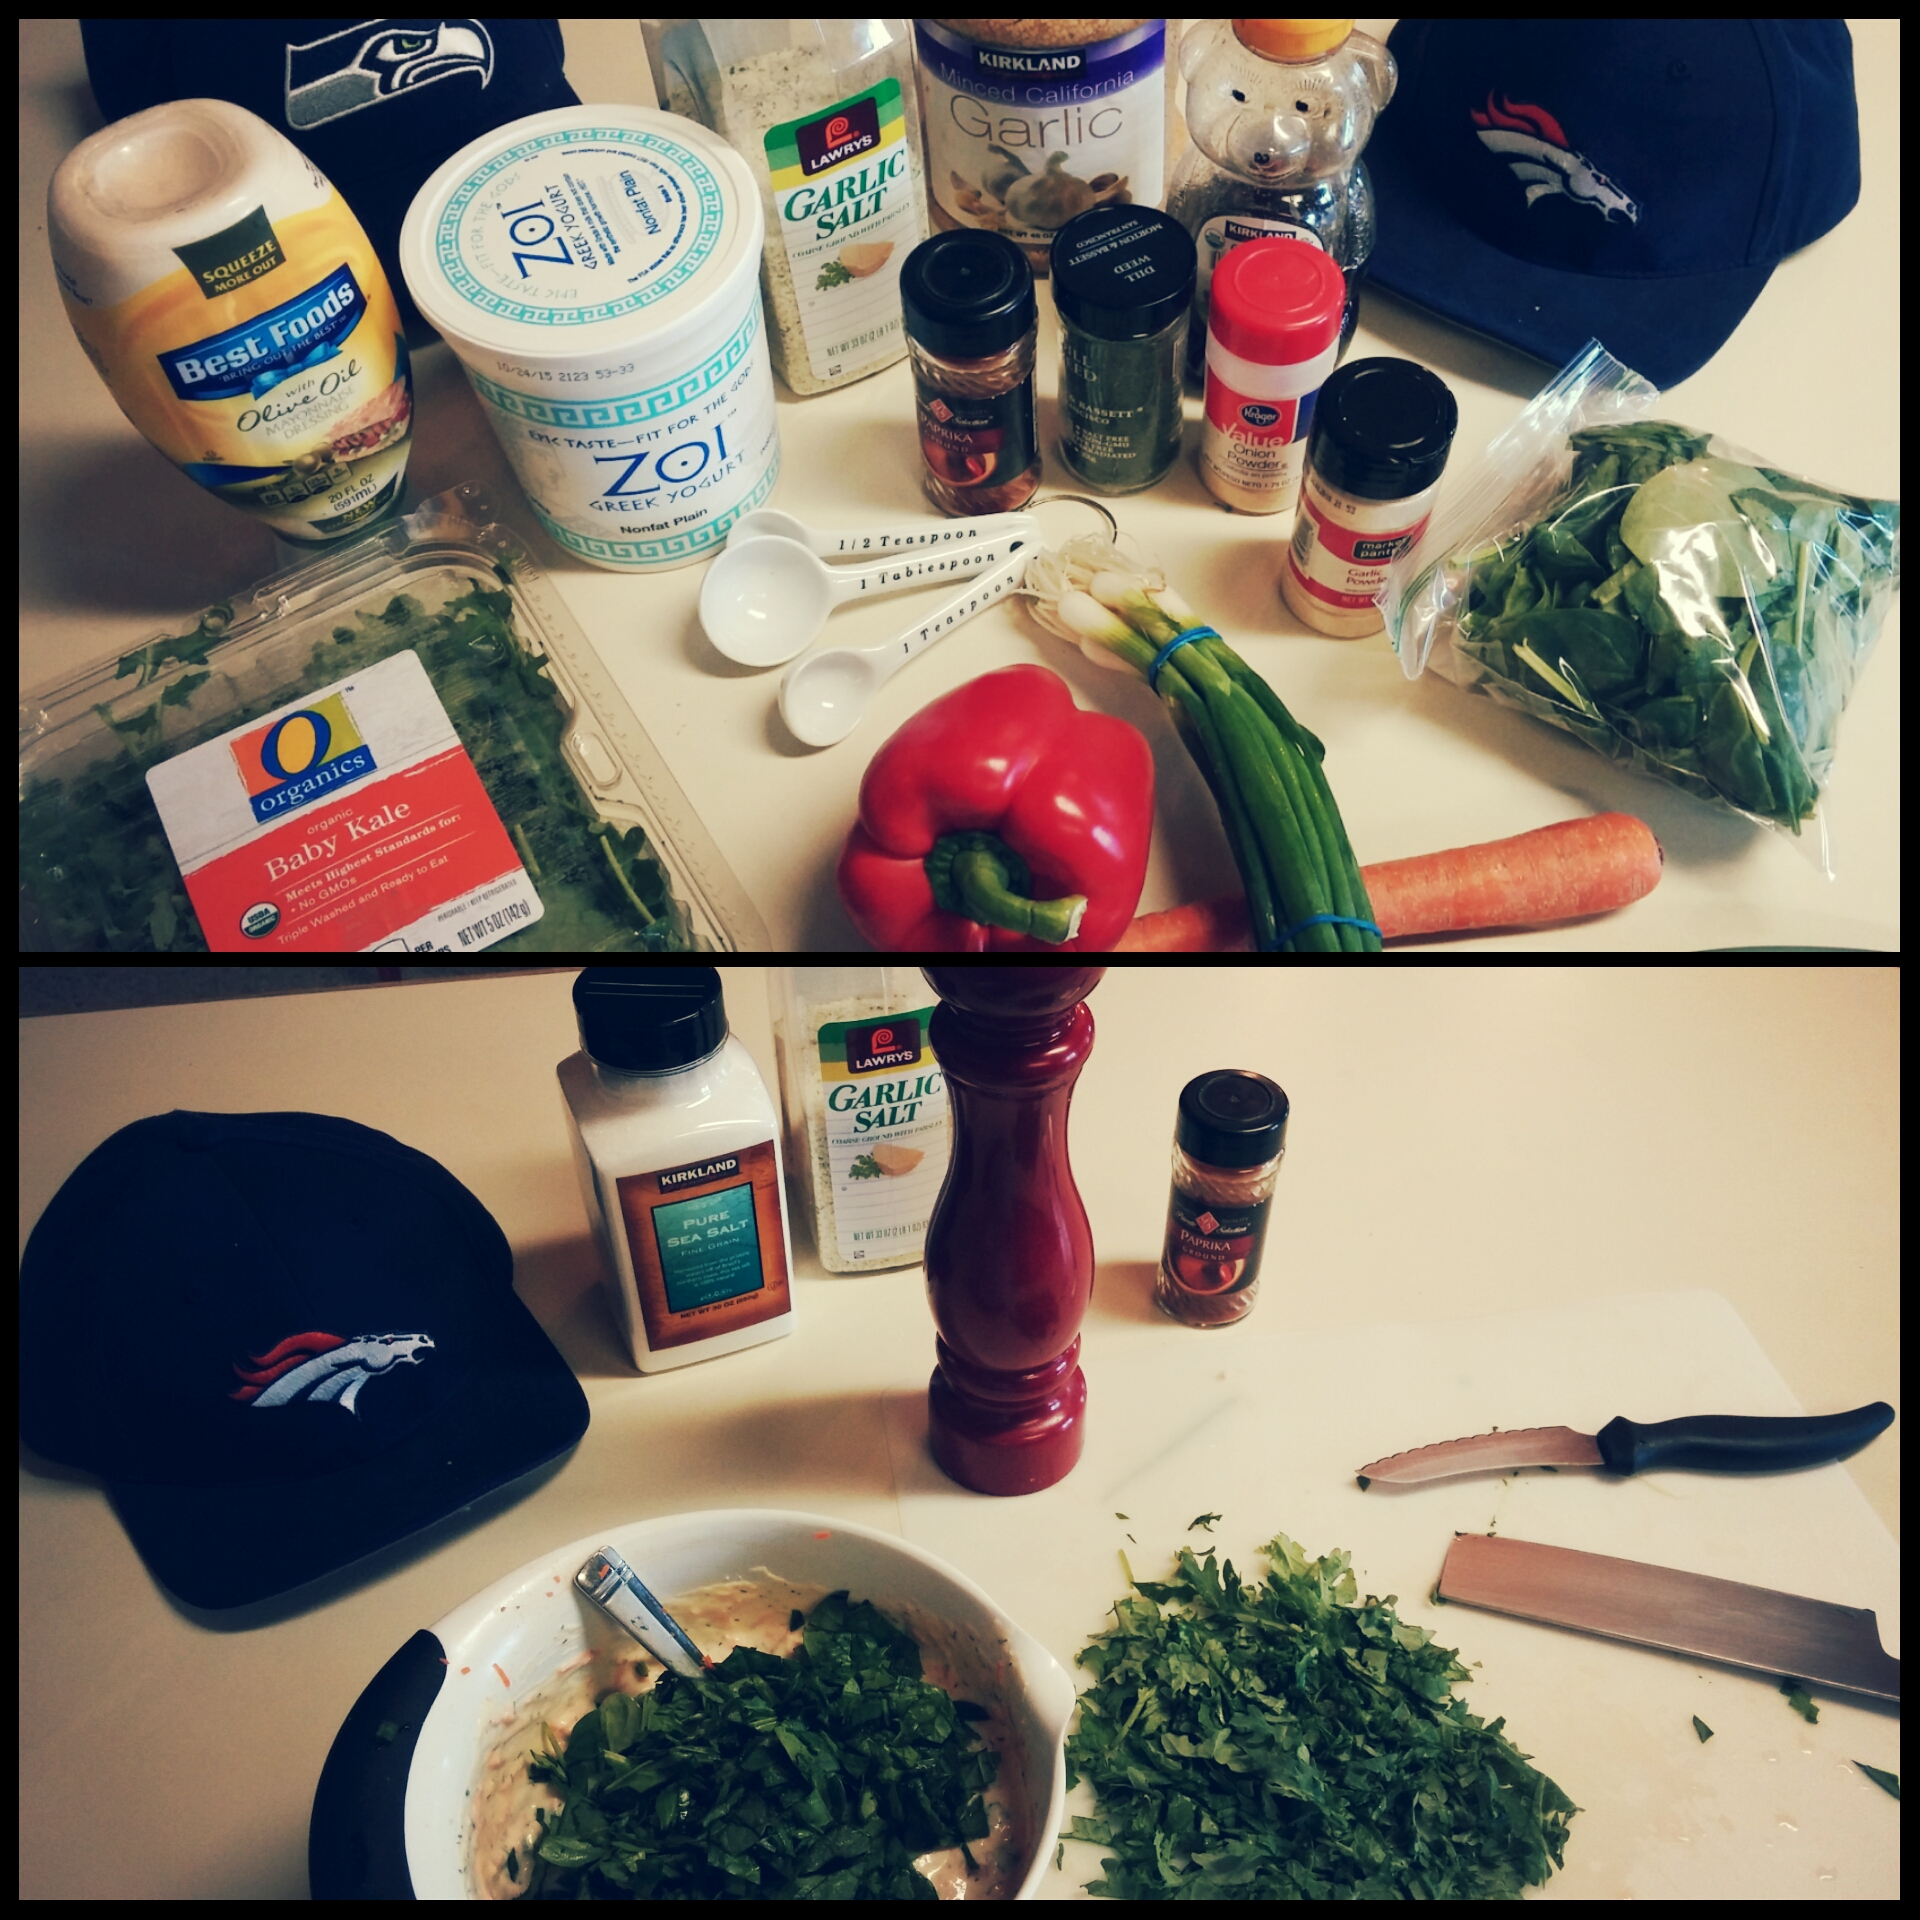
spinach and kale DIP:

Combine the following ingredients and refrigerate until ready to enjoy:
- 1/4c carrot- shredded
- 3 cloves of garlic- minced
- 4 green onions- chopped
- 1c kale- chopped
- 1/3c red bell pepper- diced
- 1c spinach- chopped
- 1 tsp fresh dill
- 1/2 tsp garlic powder
- 1/2 tsp onion powder
- 1 Tbsp honey
- 3 Tbsp Mayo
- 2c plain greek yogurt
- 1/4 tsp black pepper
- 1 tsp garlic salt
- 1/4 tsp paprika
- 1 tsp sea salt
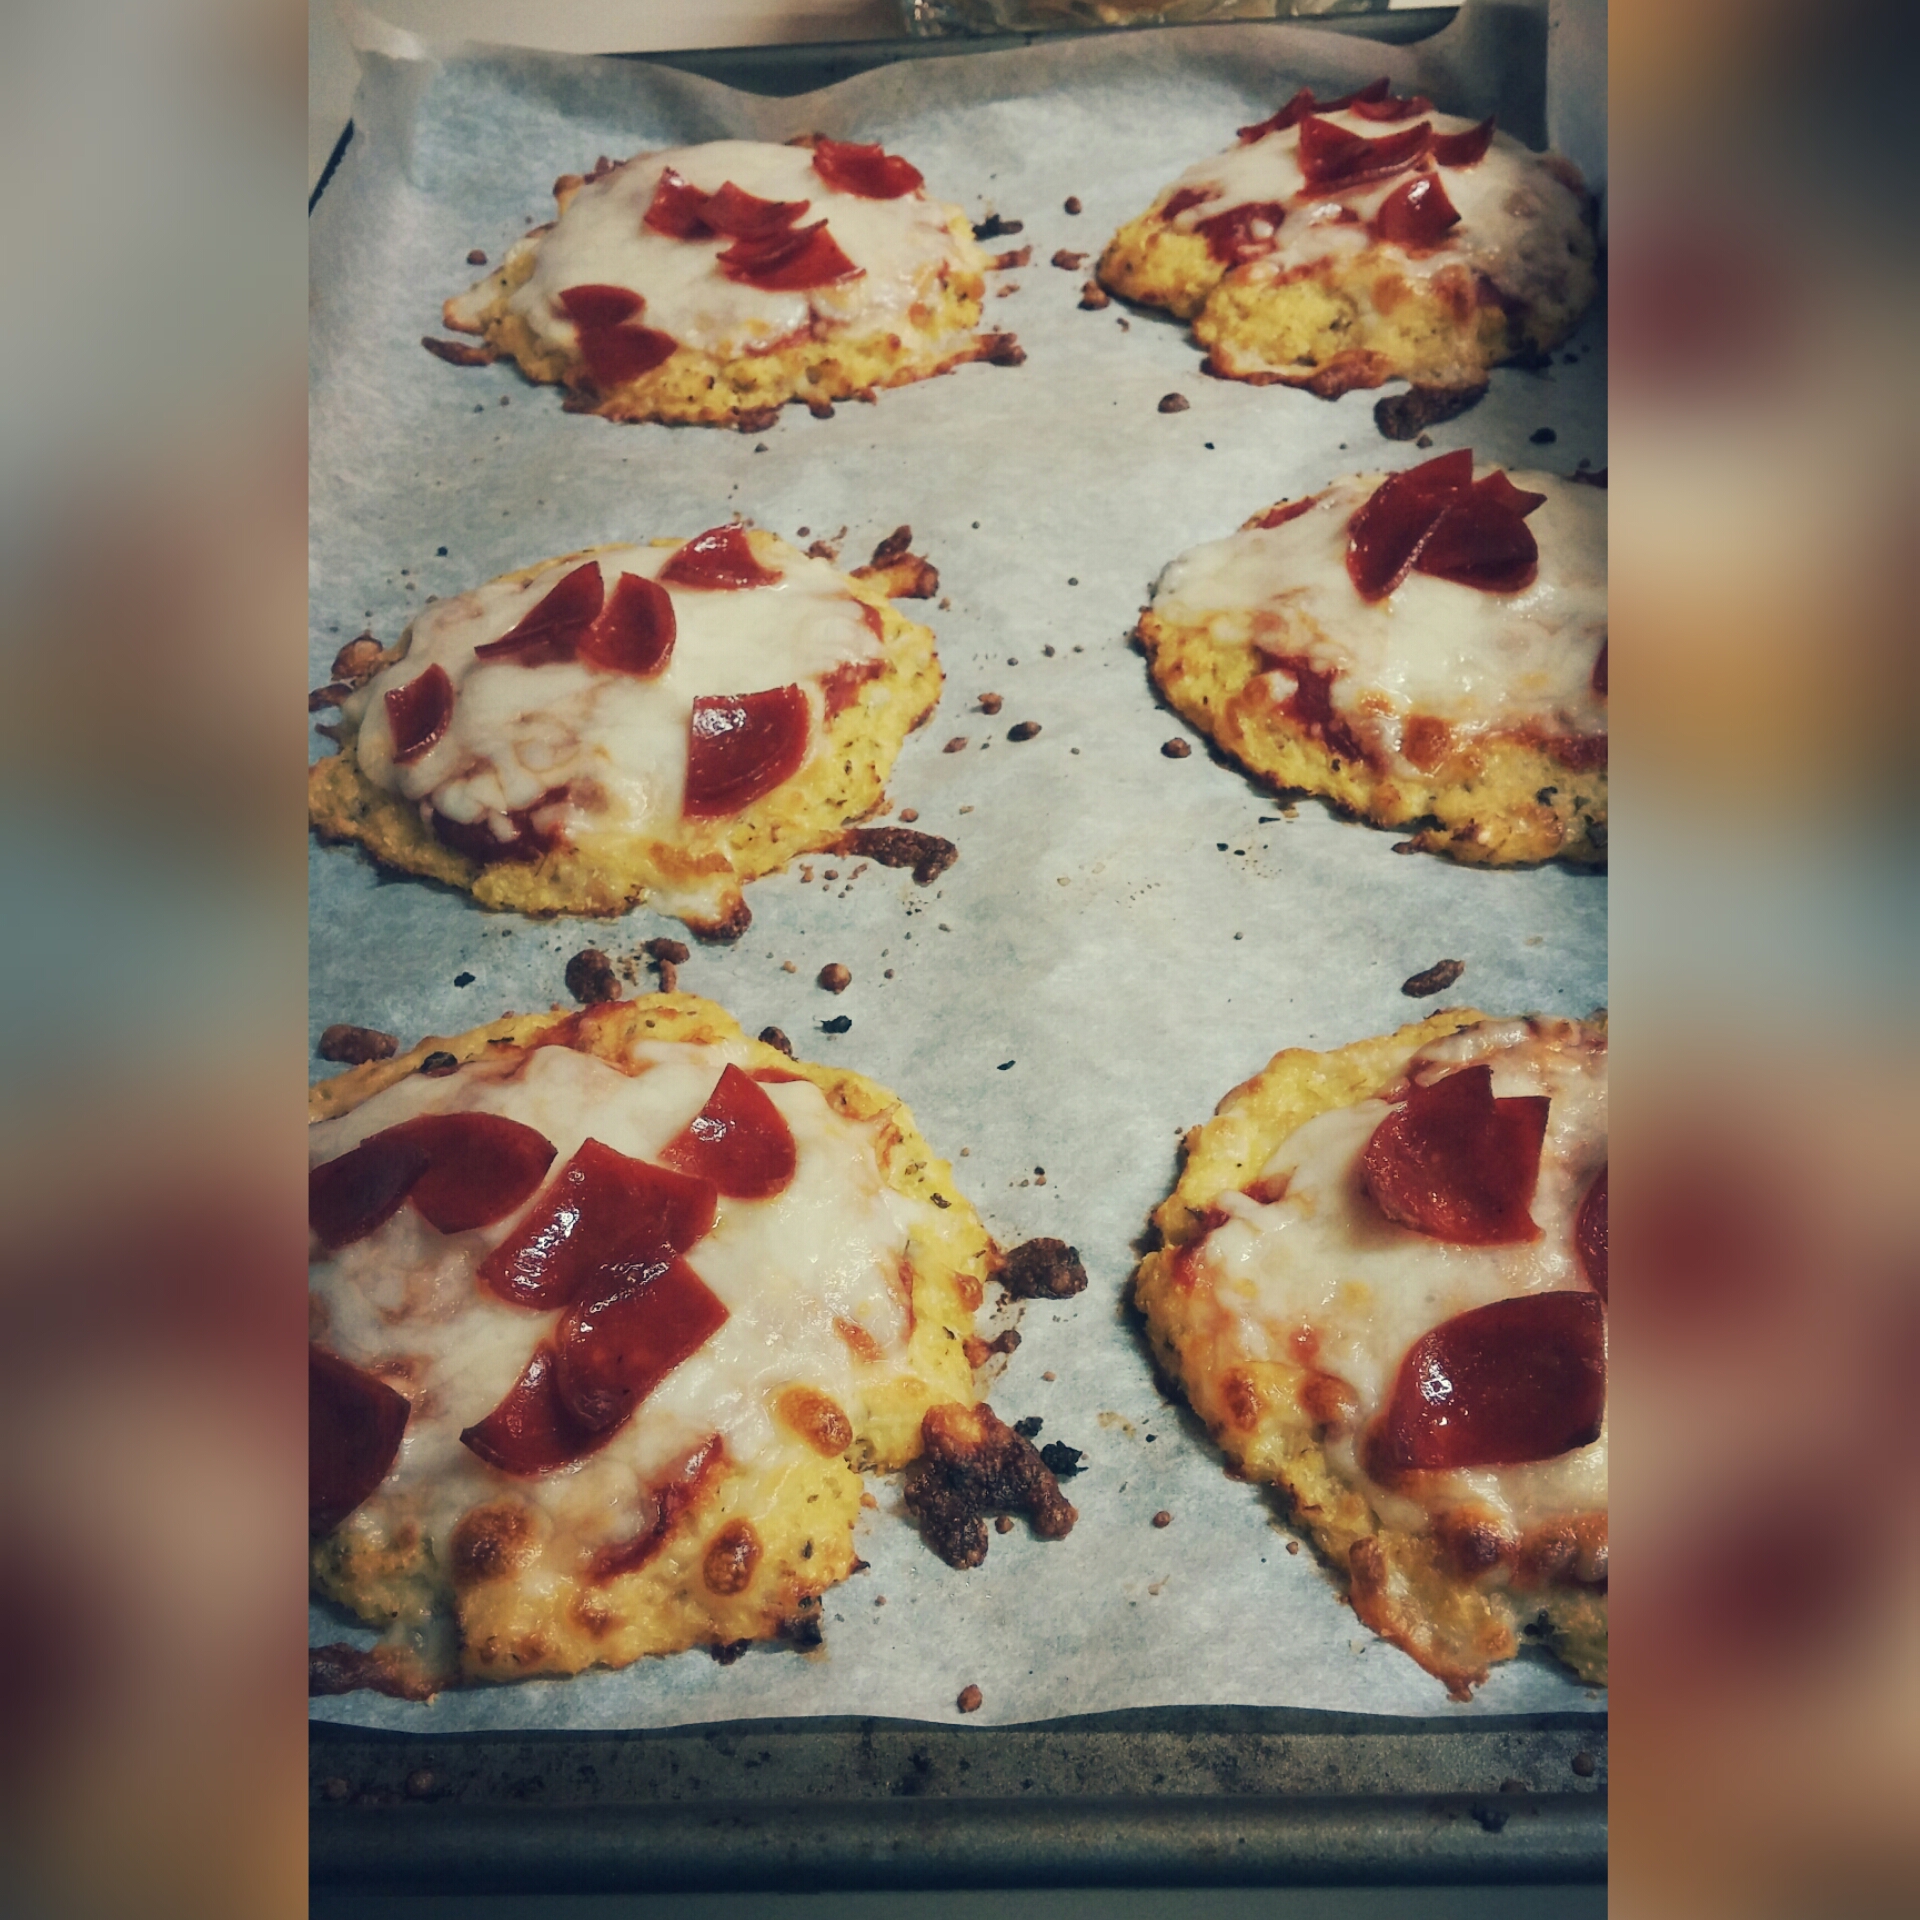
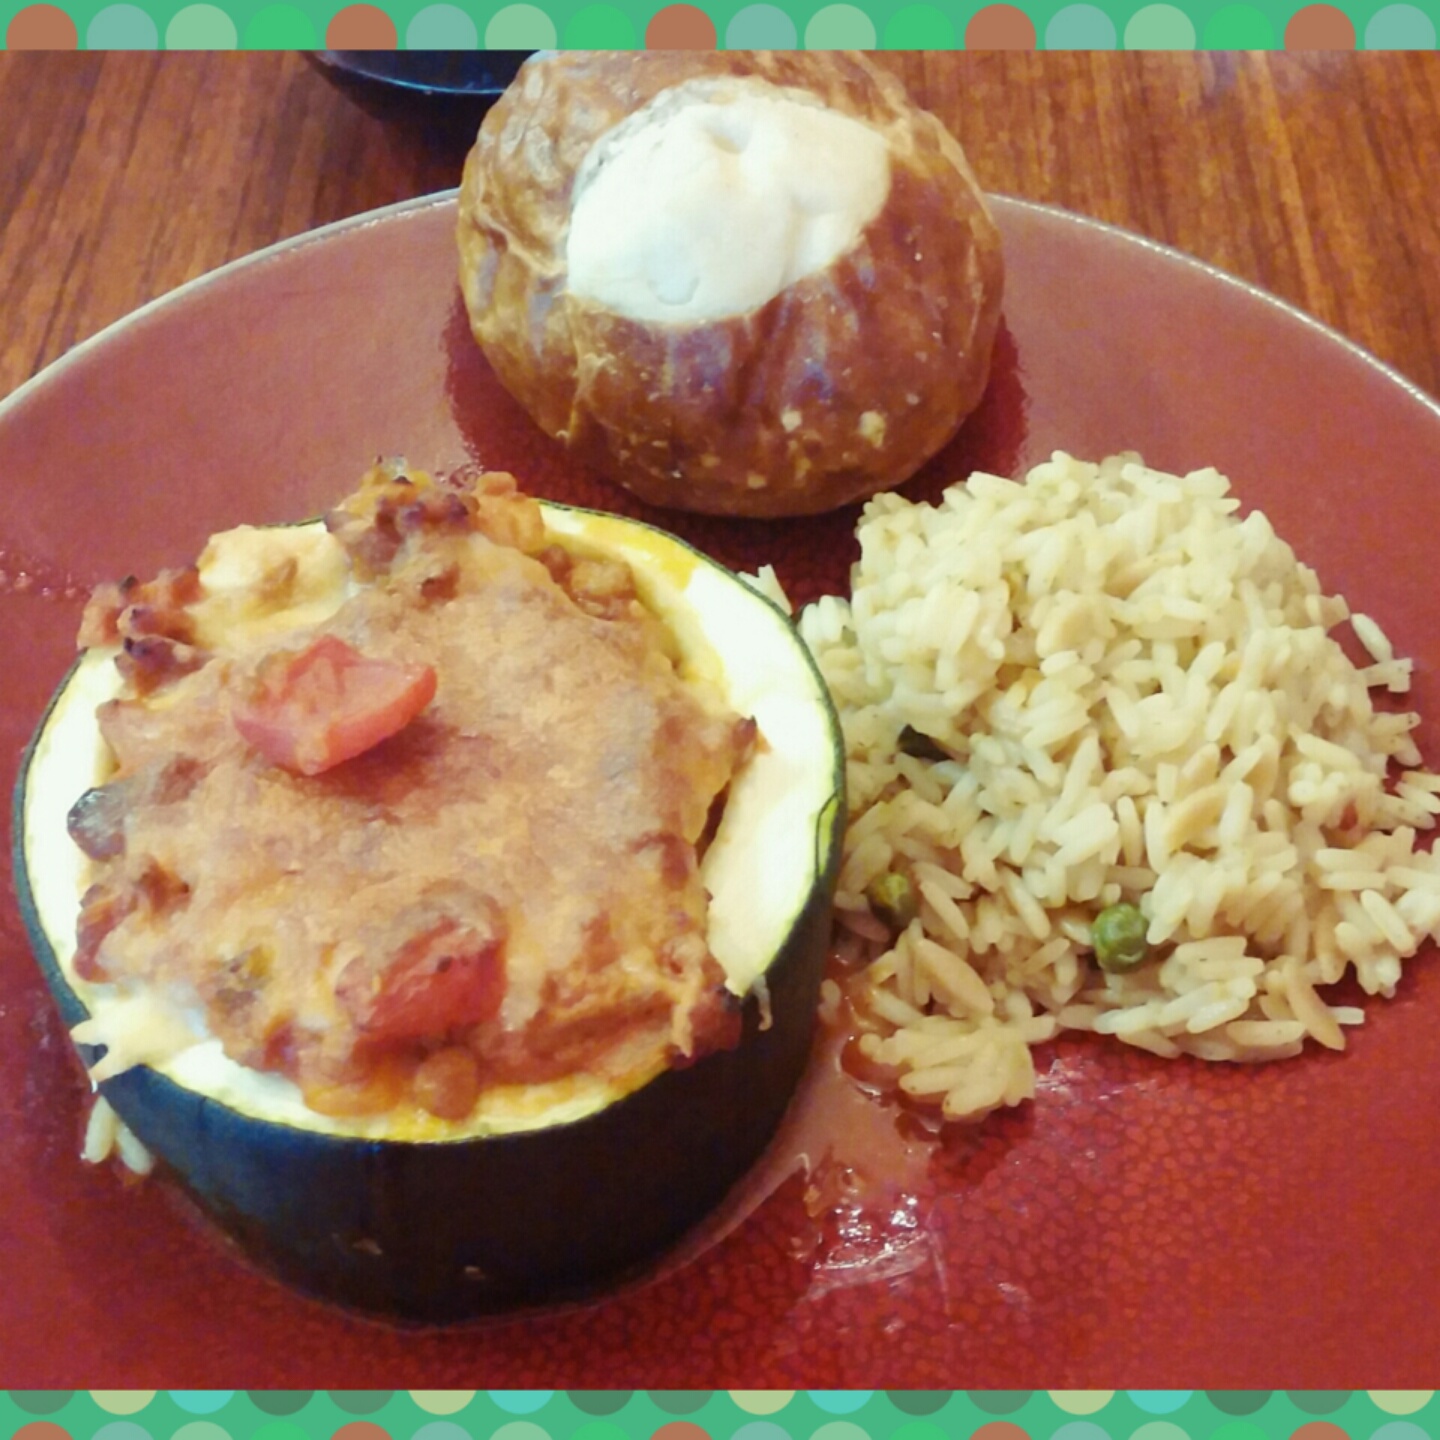
cauliflower PIZZA:

Ingredients:
- 1 head cauliflower
- 1 large egg
- 1/3c mozzarella cheese (shredded)
- 2 Tbsp parmesan cheese (grated)
- 1 tsp basil (fresh)
- 1/2 tsp oregano
- 1/2 tsp garlic powder
- 1/4 tsp onion powder
- Salt and pepper to taste
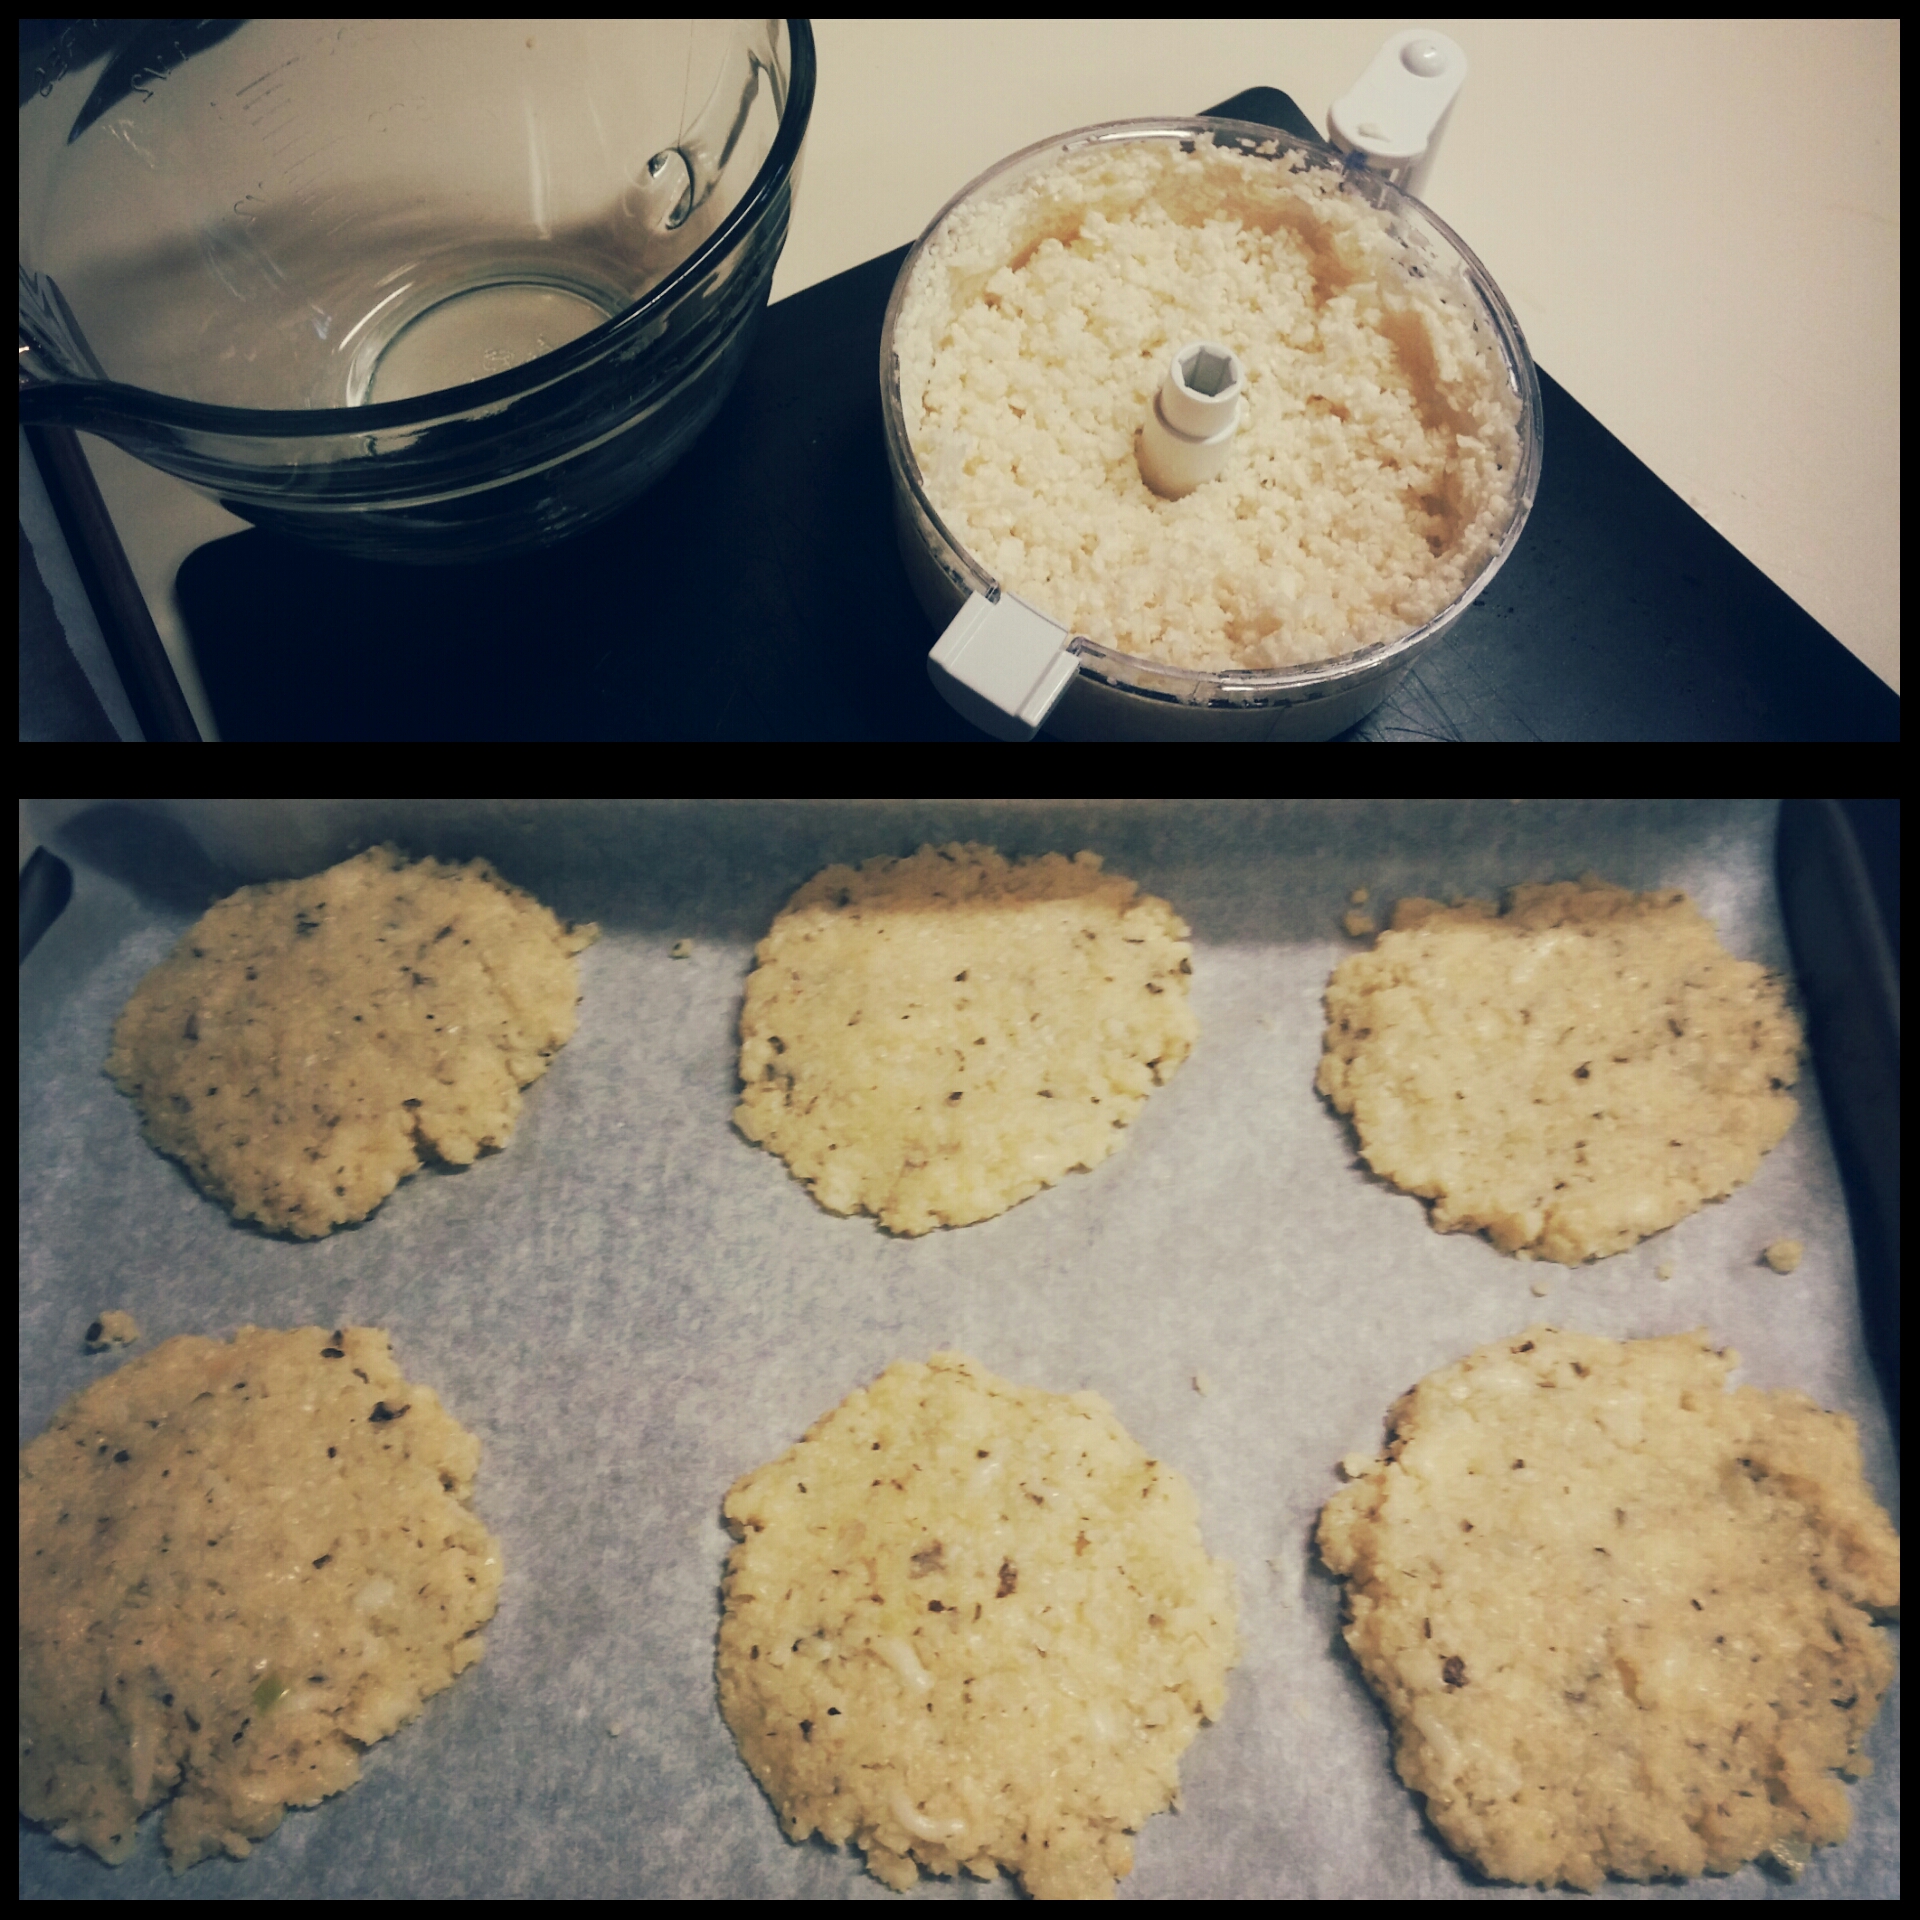
Preheat the oven to 425˚ degrees and line a baking sheet with parchment paper.
Break an entire head of cauliflower into florets and pulse in a food processor until fine (I use a manual processor and it works fine). Microwave in a microwave safe bowl for 4-5 minutes, drain (make sure you get as much water out as possible…I used a towel to press) and let cool.
In a bowl, combine the cauliflower with the mozzarella, parmesan, basil, oregano, onion powder, garlic powder, egg and salt/pepper. Divide into six pieces and form into small flat circular crusts on the baking sheet. Bake for 18-20 minutes.
Add any desired toppings (we used 1/3c marinara, 1/2c mozzarella, 1/4c turkey pepperoni cut into quarters, and 2 Tbsp basil) and bake an additional 10 minutes.

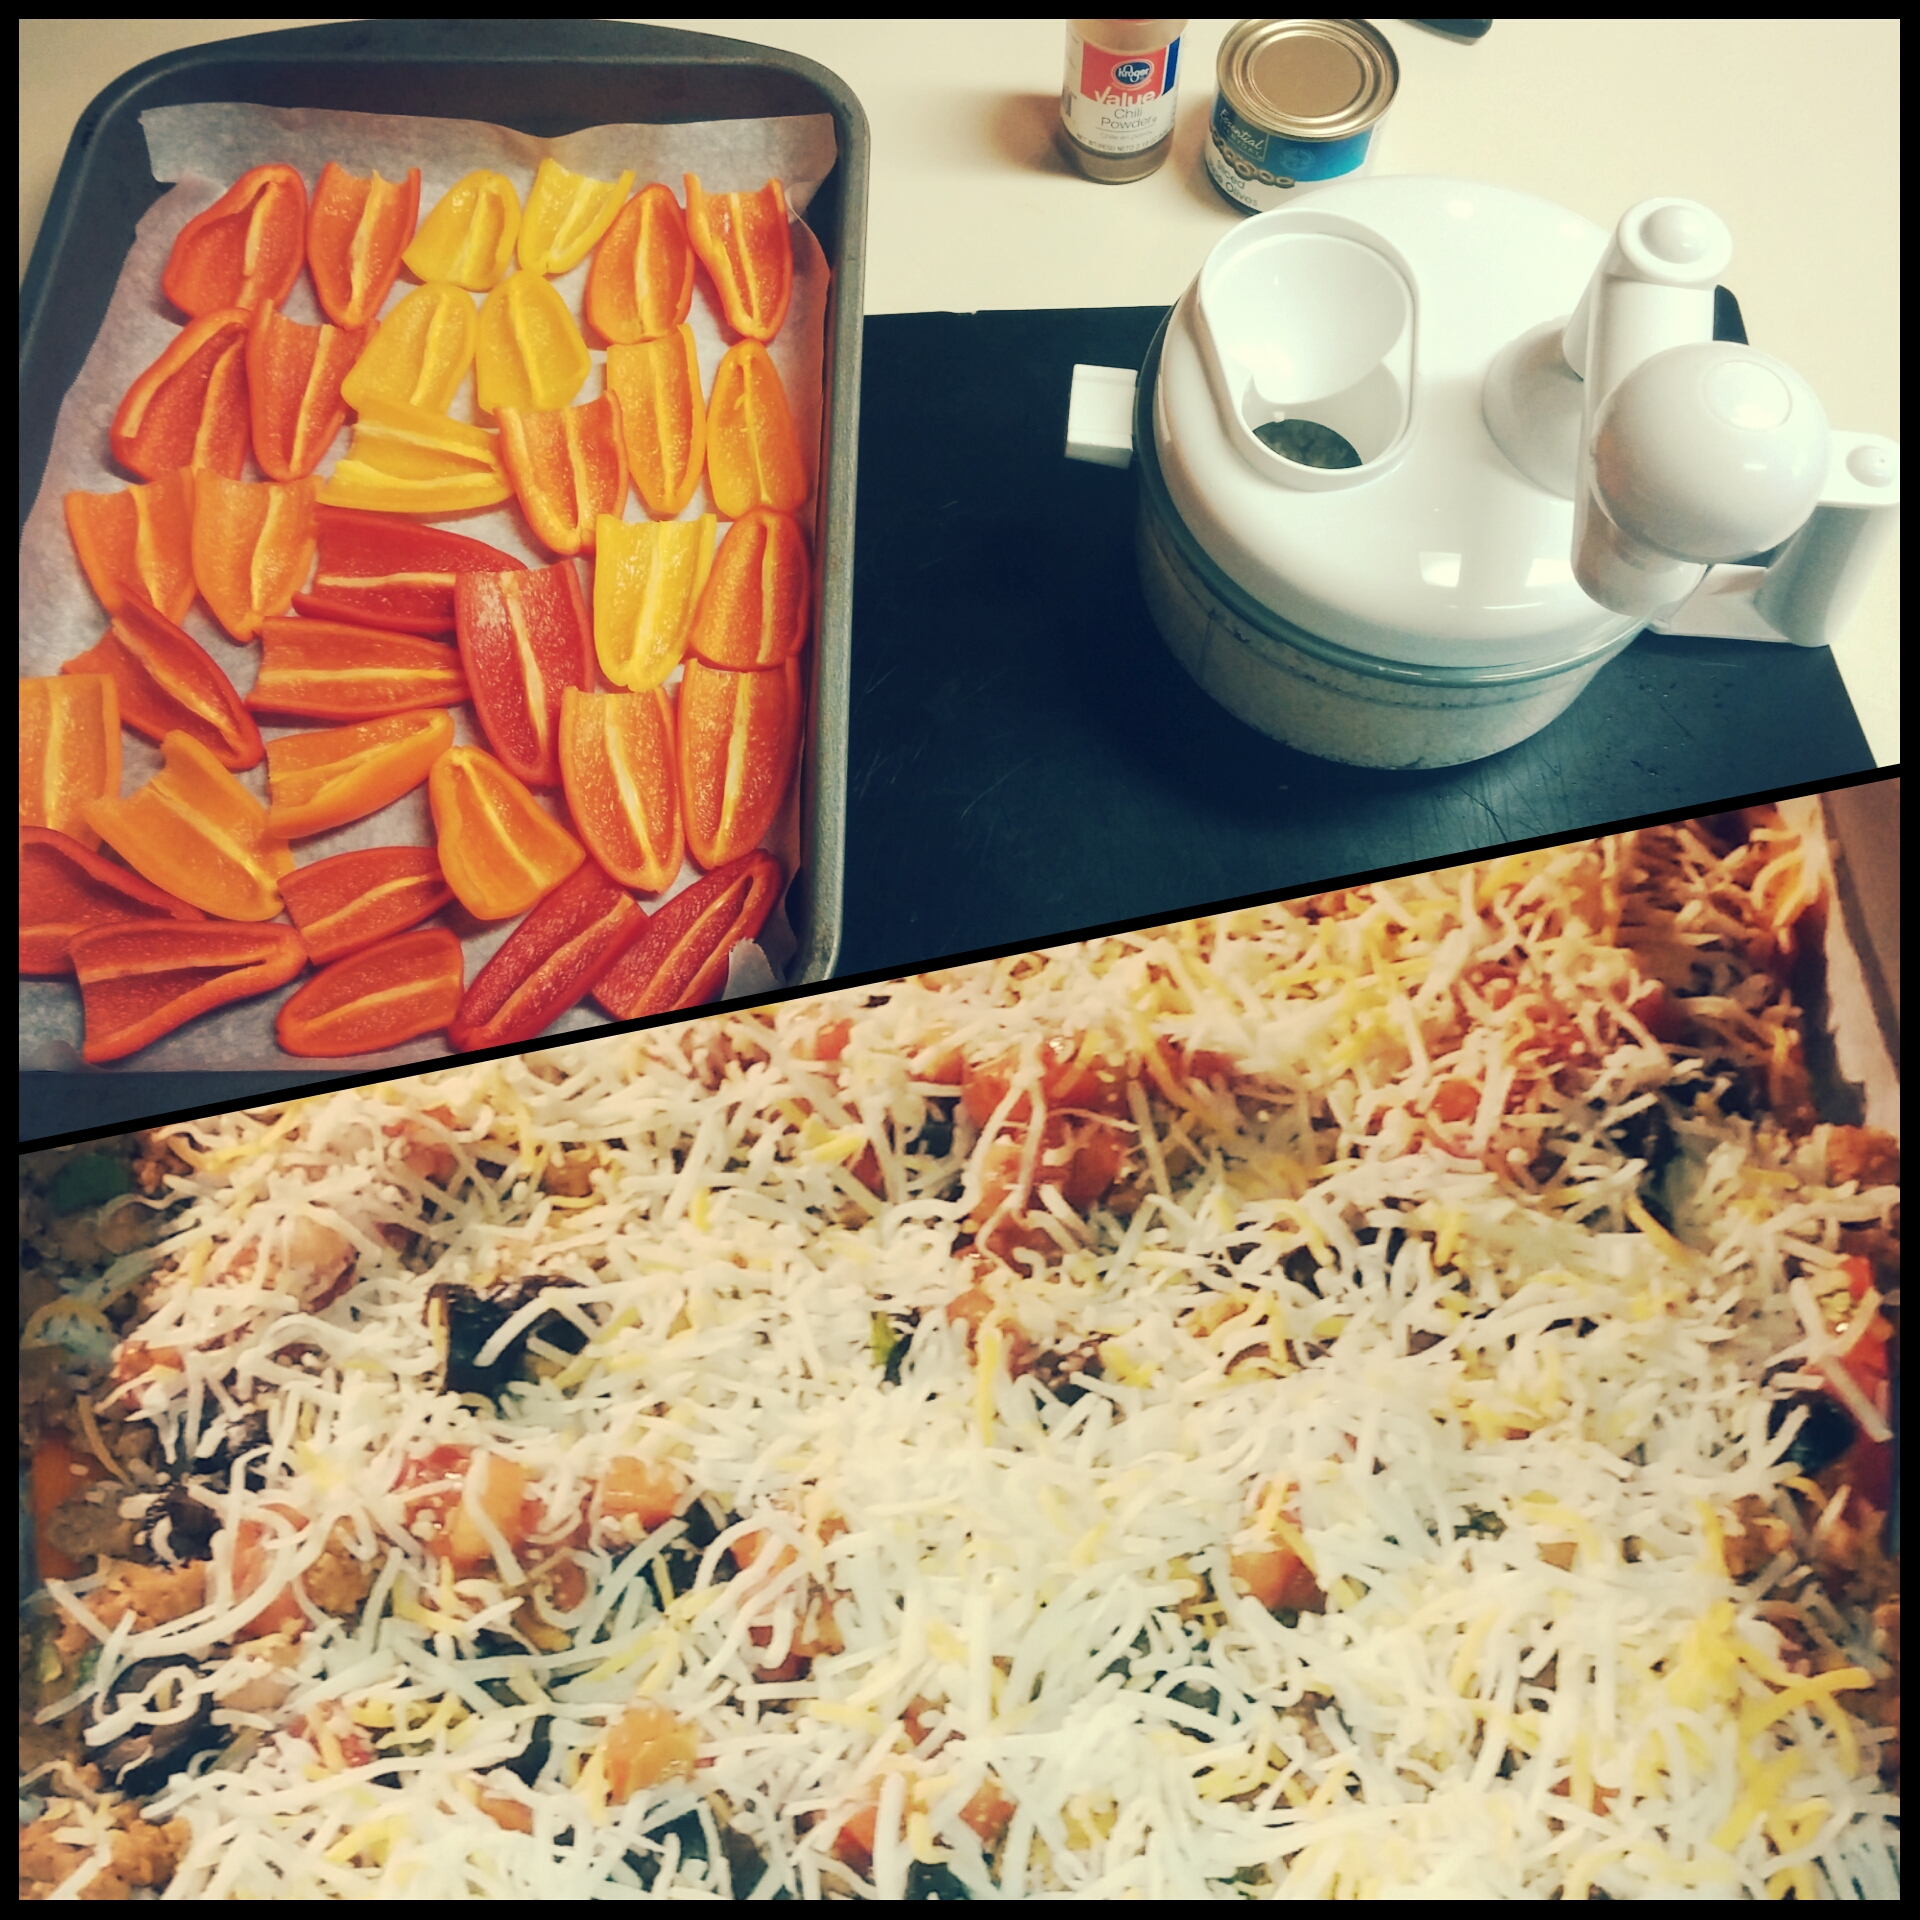
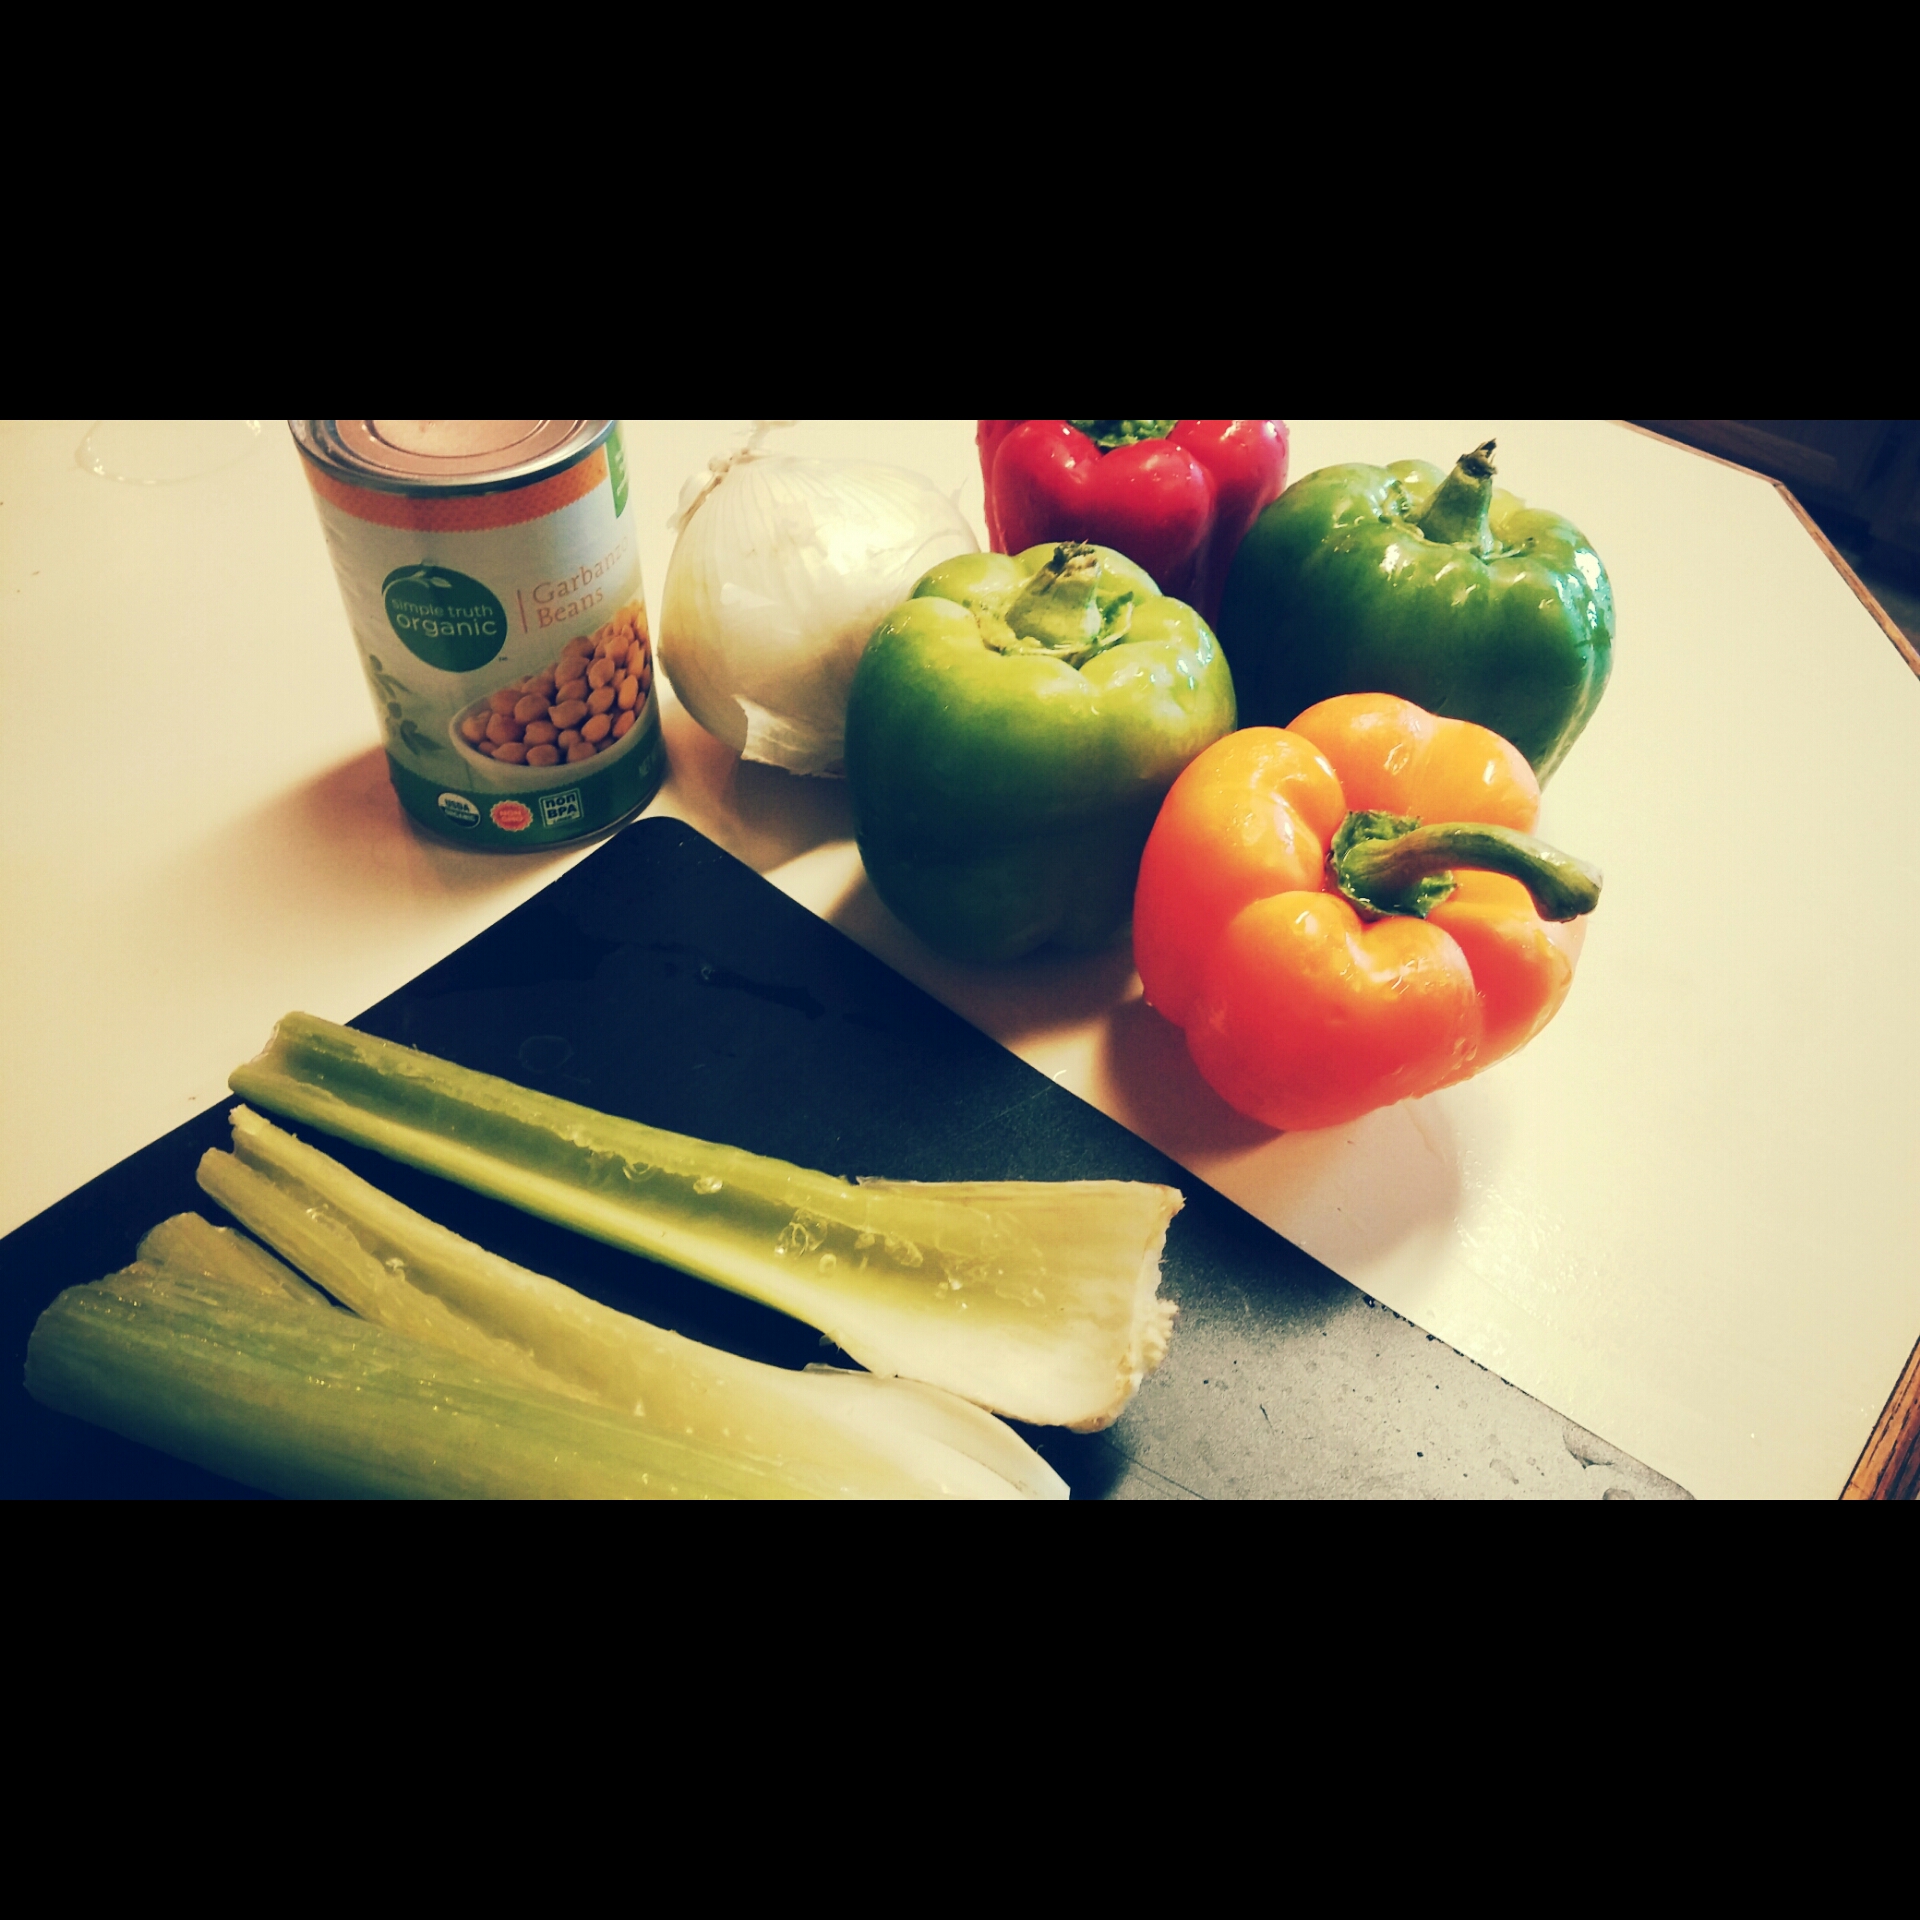
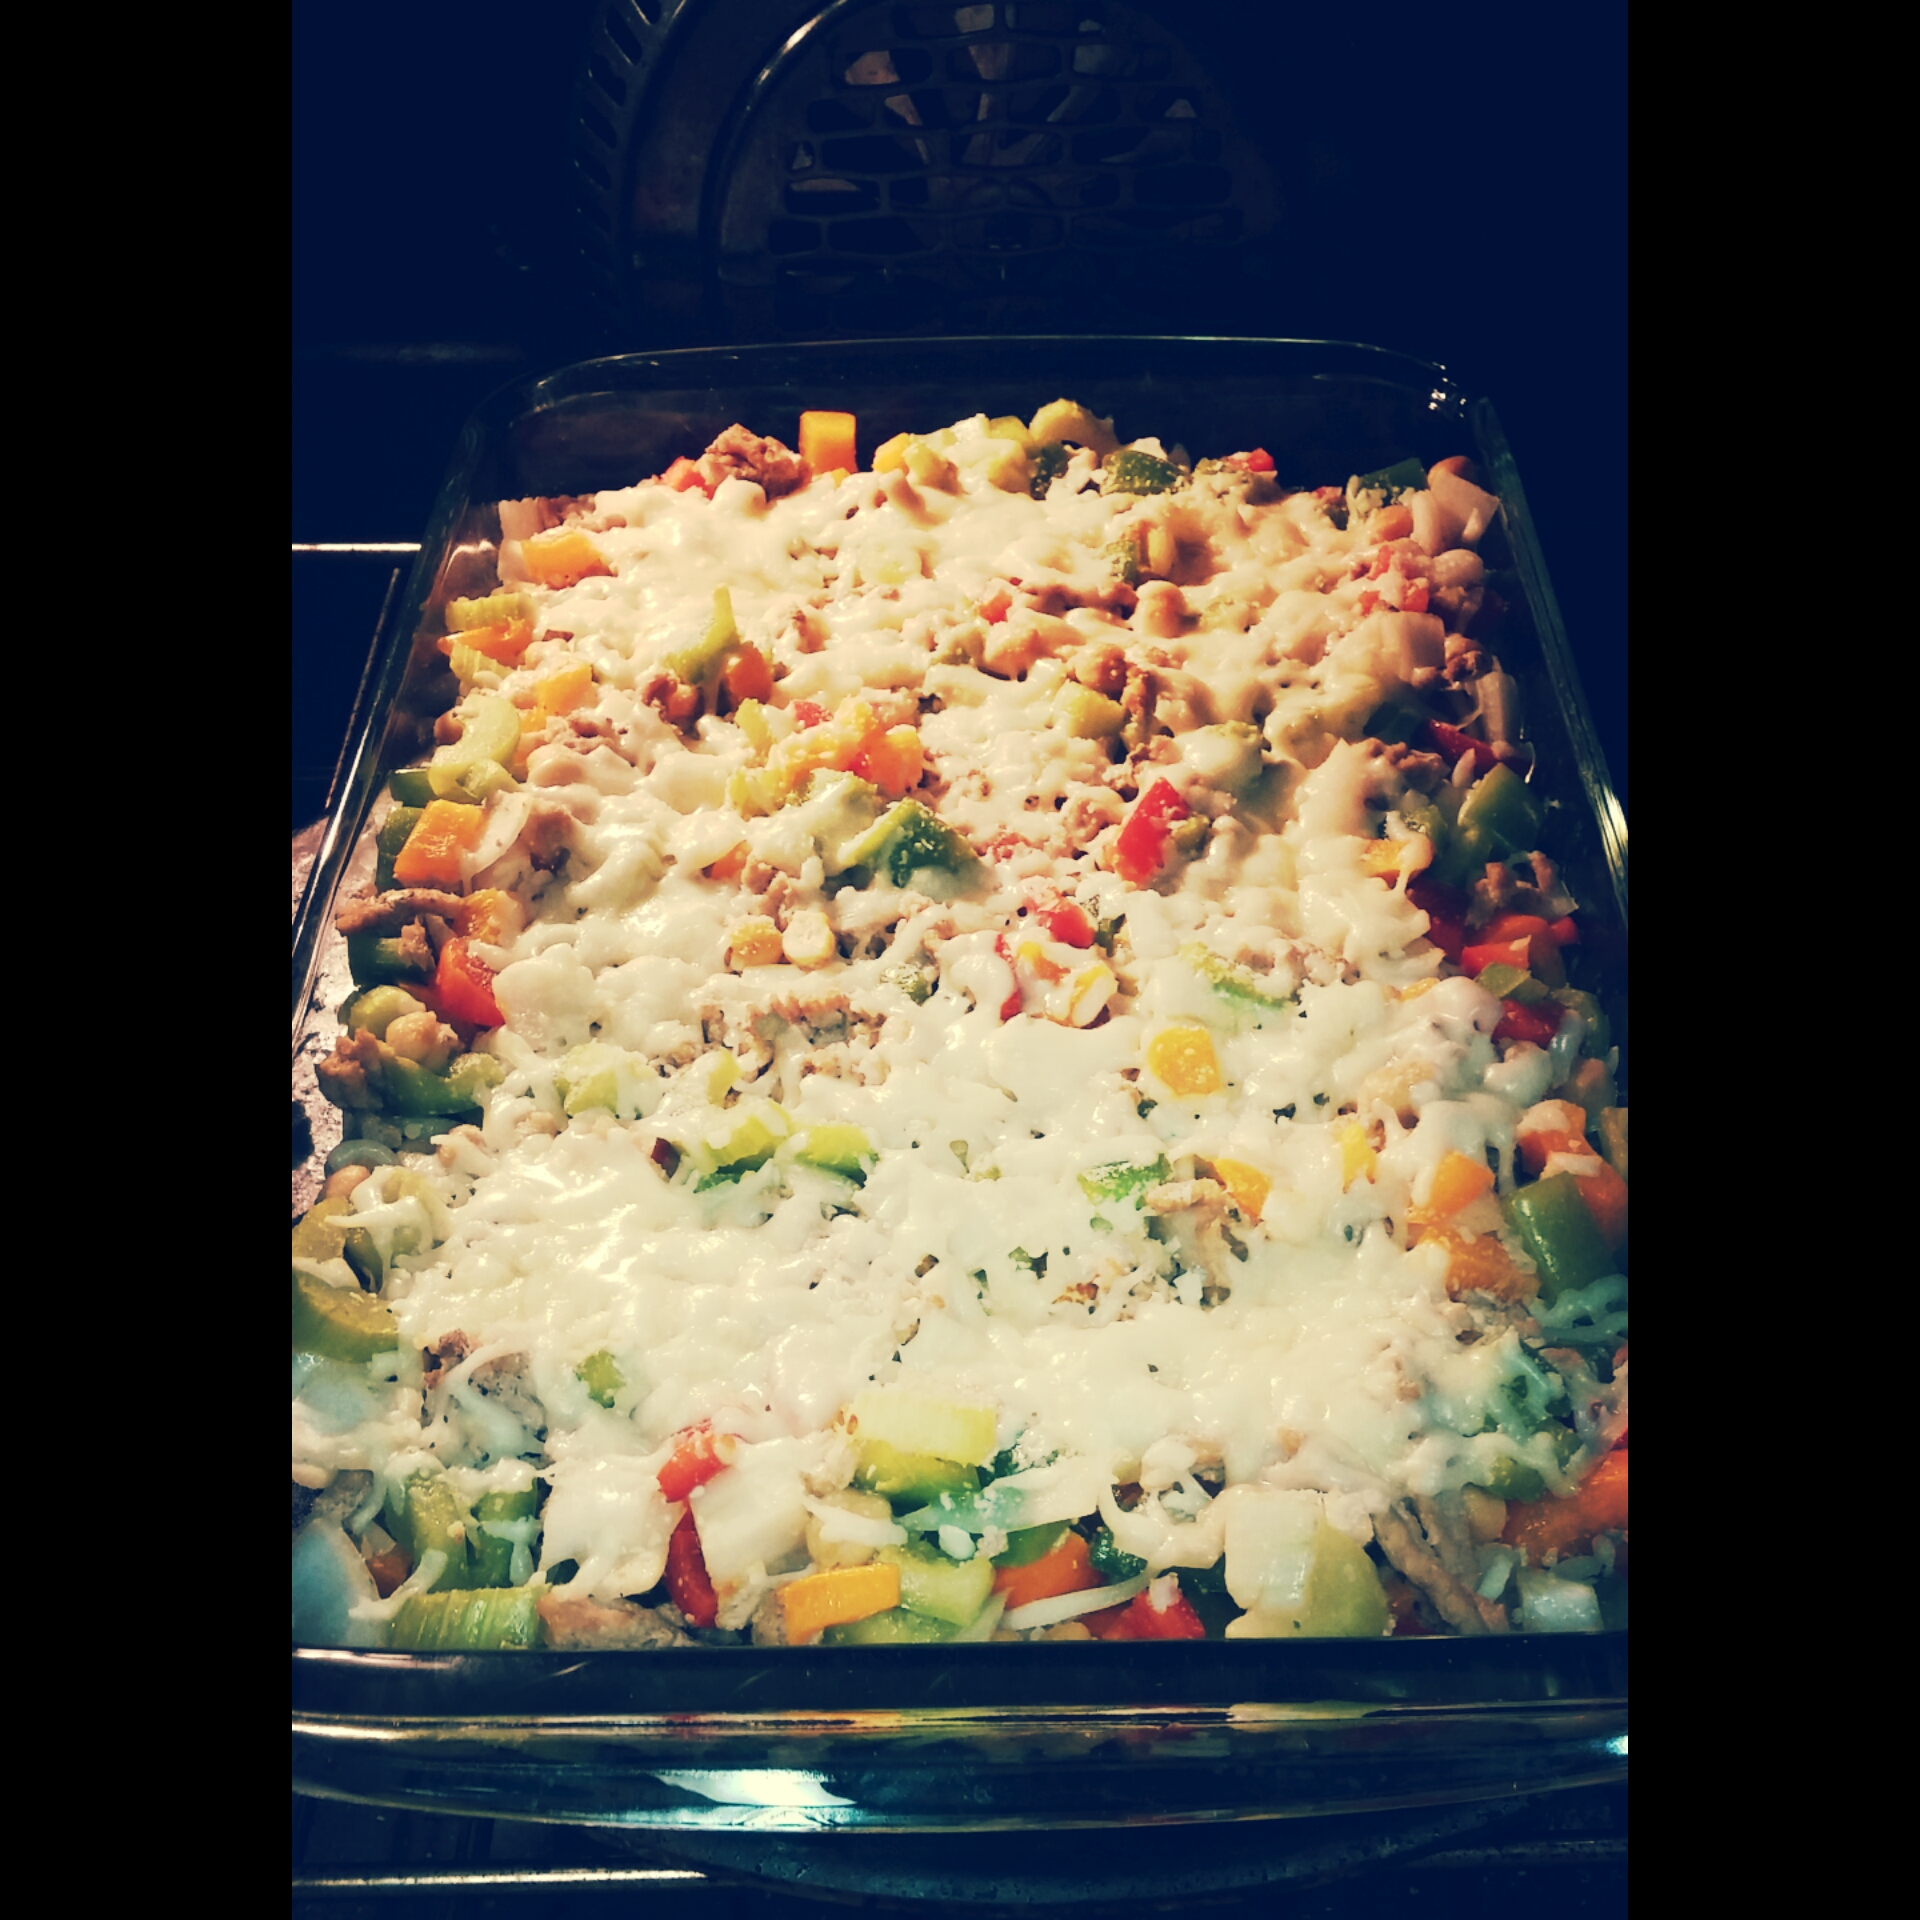
bell pepper NACHOS:

Ingredients:
- 1 bag mini bell peppers
- 1 lb ground turkey
- 1 packet taco seasoning
- 1 small can black olives- sliced
- 2c shredded Mexican cheese blend
- 1/2 large tomato- diced
- 1/4c cilantro- chopped
- 1c salsa with 1 tsp chili powder mixed in
Cut an entire bag of mini bell peppers into halves and clean out seeds and insides. Place peppers on a baking sheet covered in parchment paper.
Brown 1 lb of ground turkey over medium heat, until brown. Add 1 packet taco seasoning and 1 cup water. Simmer until water has been reduced.
Add turkey meat and vegetables to mini bell peppers and cover with cheese. Cook at 350˚ for 20 minutes and cover with salsa mixture once cooked.

Hopefully you will find a touchdown in at least one of these recipes for your next game day as well! If you are looking for a healthier version of YOUR favorite game day munchie, I would love to know so I can try to discover something new to share next time!