

Who doesn’t love a little watermelon?
This year, when we were picking out plants to put in our garden, my children chose a watermelon plant to add to our berries, herbs, and lavender. We had never planted watermelon before so we weren’t sure what to expect (or how much room was needed). We picked a small area in the corner of our garden and went for it.
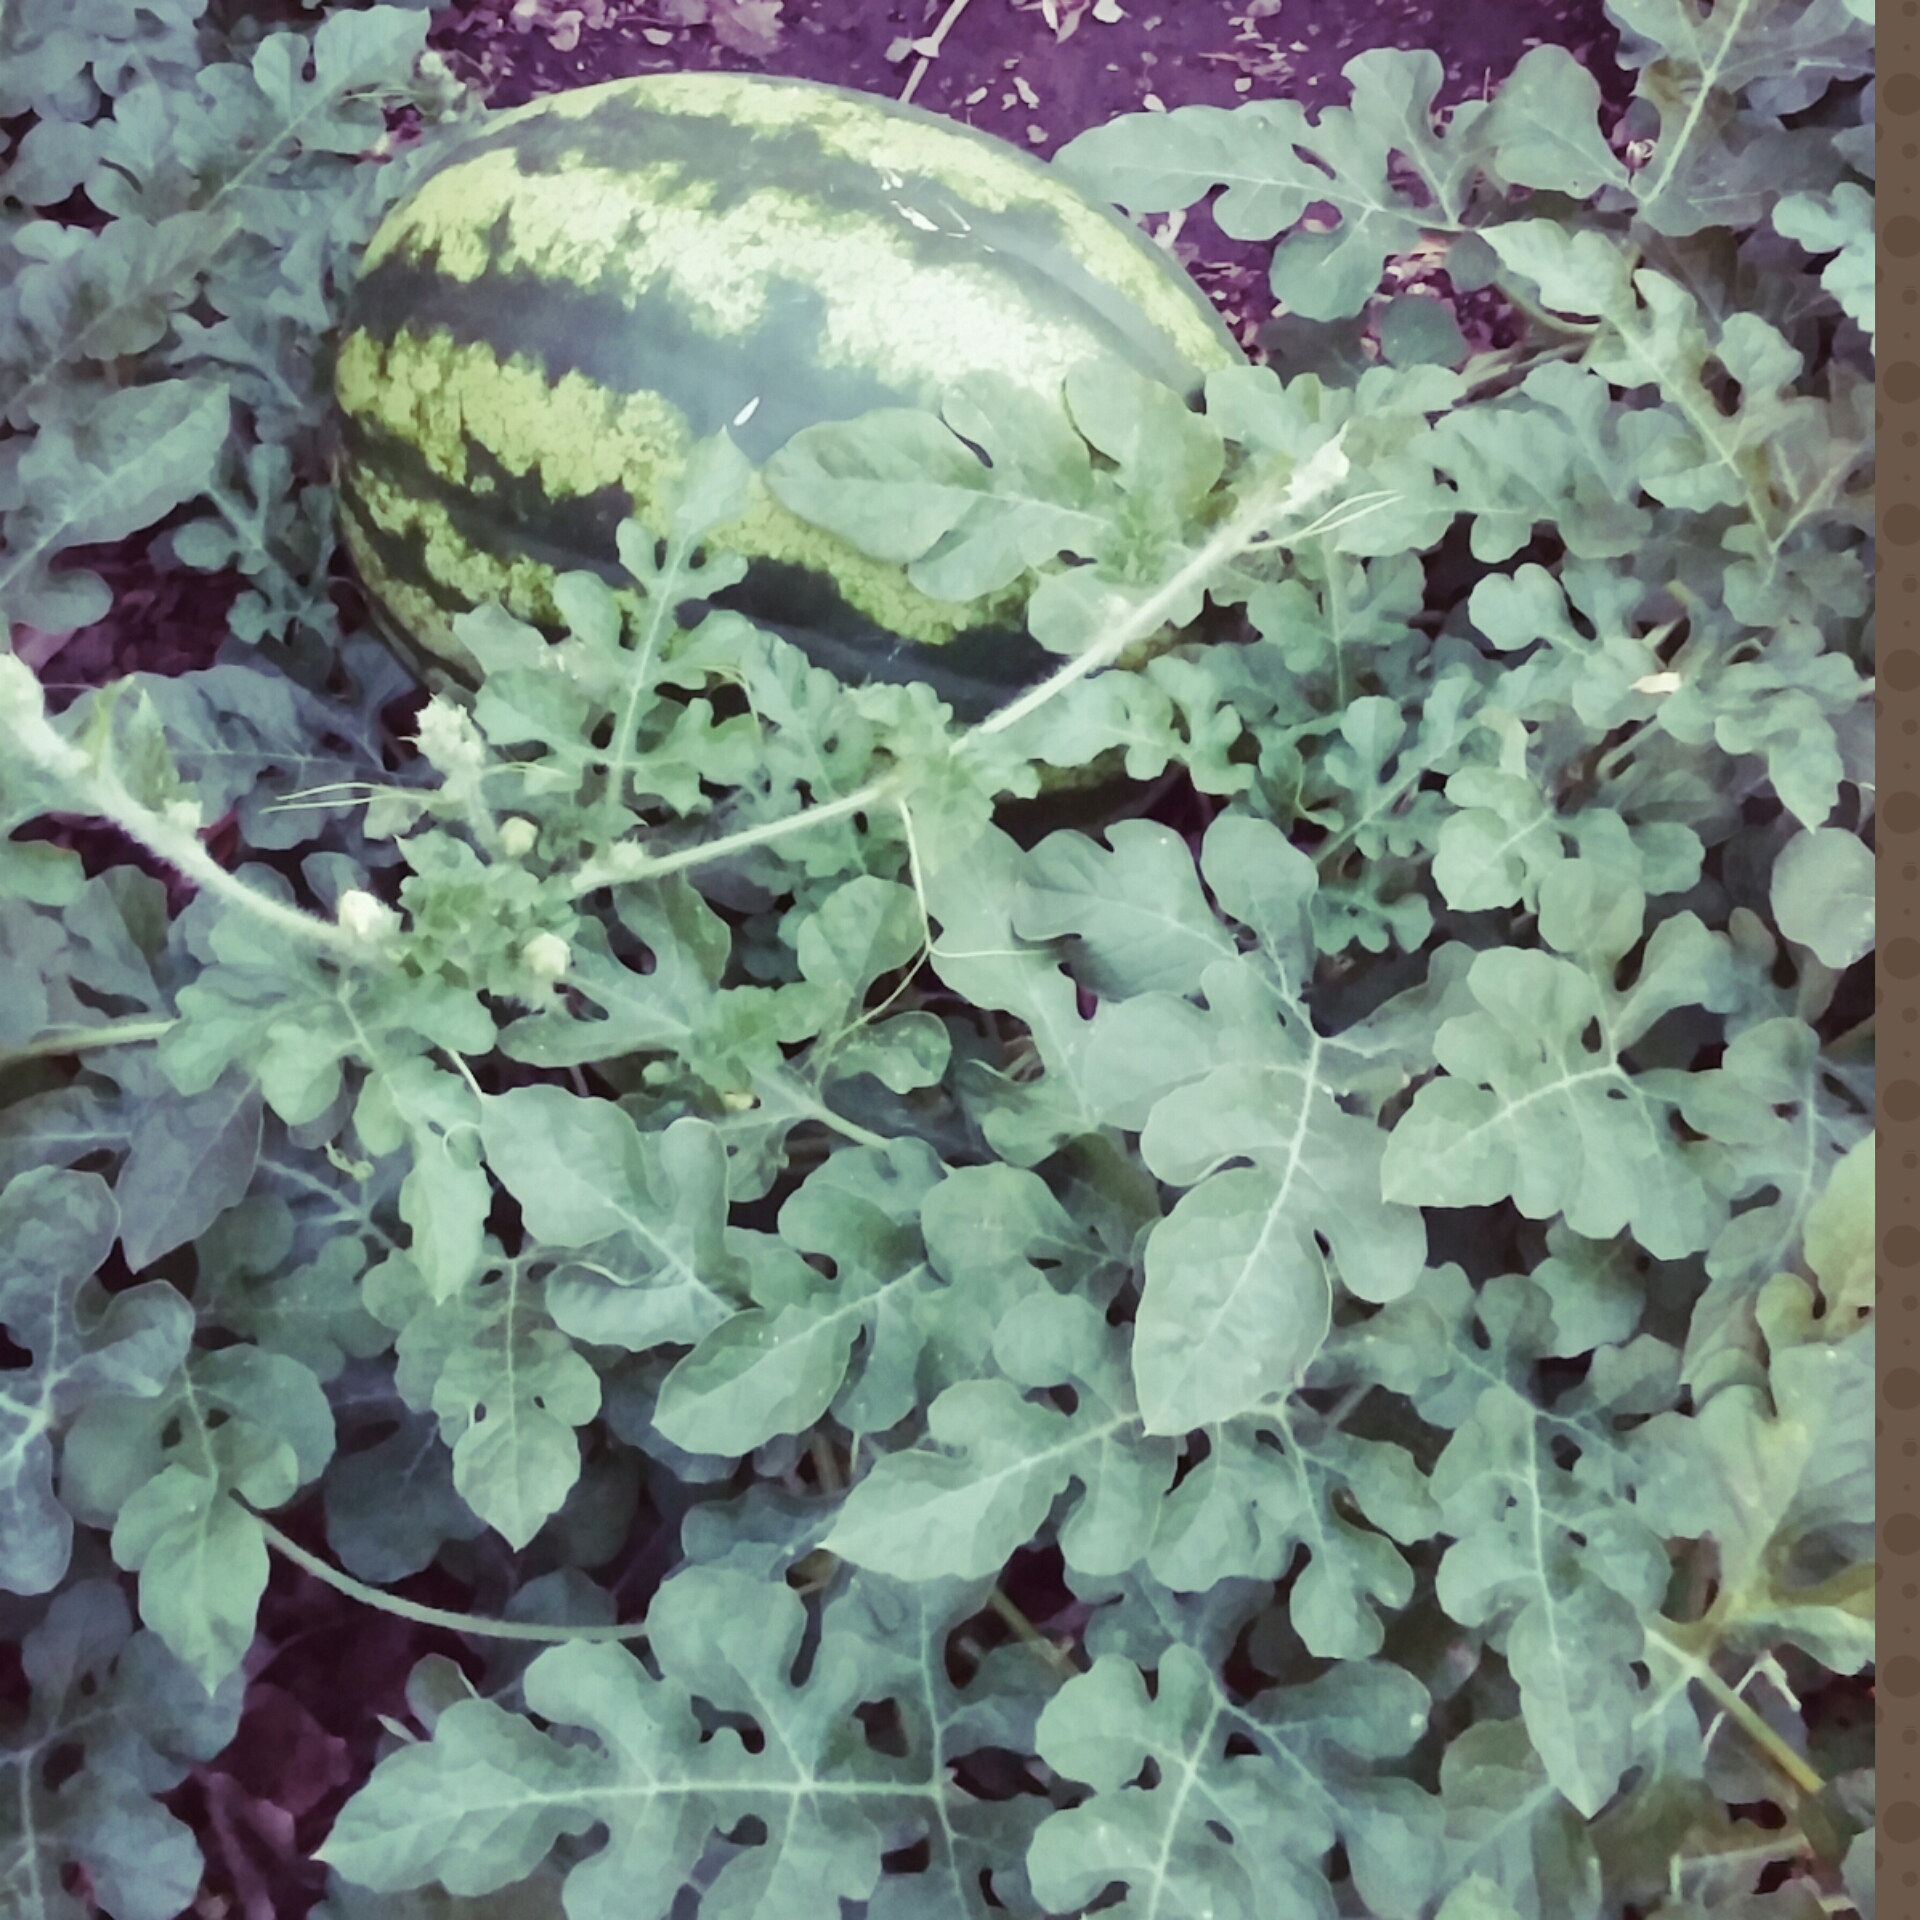
Our watermelon plant came in one of those pre-planted “pots” that are biodegradable and require only that you remove the bottom when planting, so it was super easy to plant. A month or so down the road, with some dedicated watering by the kids, the vine started to take off…and by take “off”, I really mean take “over”! The vine literally meandered its way throughout the entire garden, blocking out other plants and moving up walls and fencing. Despite the giant vine though, there were no watermelon in sight.
Last year we had a similar experience with pumpkins…the plant itself grew massive but no pumpkins came before picking season so we pulled it (next time we will find a better location with more room so it can stay!). We thought our watermelon was going to see a similar end…and then it happened! Adorable little melons started popping up everywhere! A little more TLC, and a few more months, and they were looking ripe for the picking.
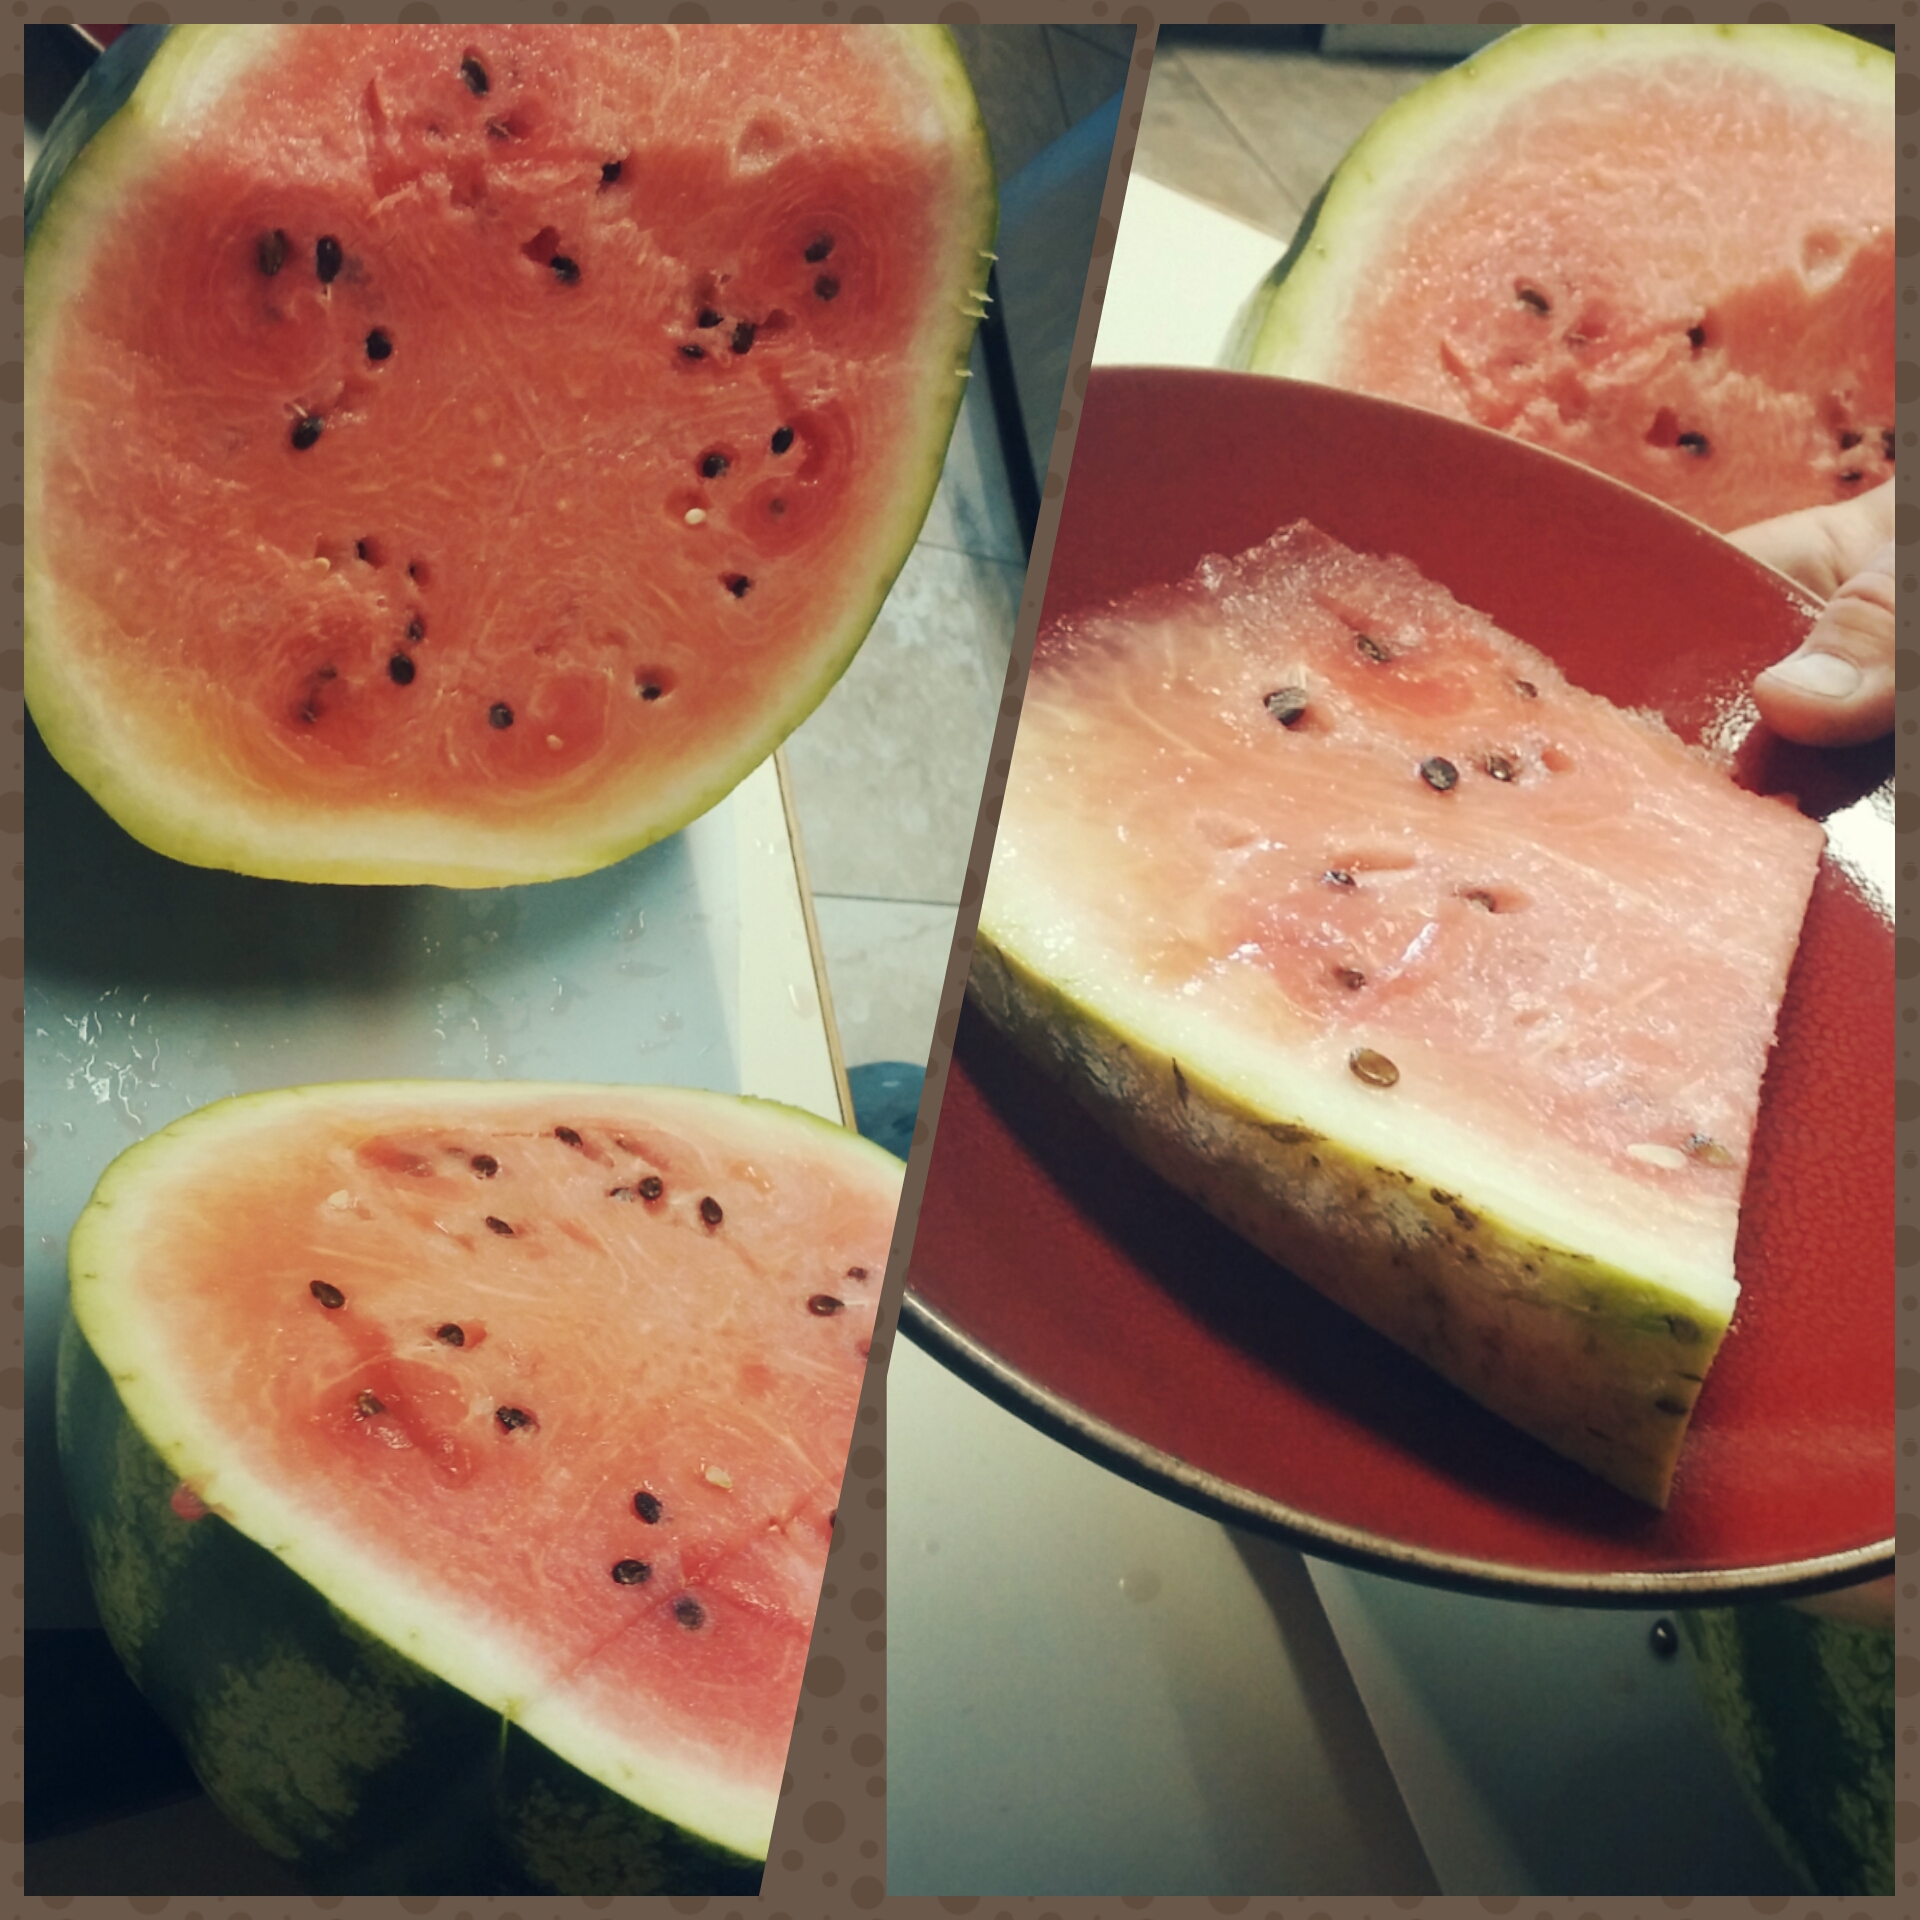
My husband (let’s be honest, he’s the green thumb of us two) started his research, and found a few things about how to tell if the watermelon was ripe (the thumping doesn’t always give you the right answer…our first “hollow sounding” melon was white on the inside…oops!), how many watermelon each vine should grow (we have about 10 growing now…more than what he read was the “normal”), etc.
Here is a basic breakdown of what we found in our first year (DISCLAIMER: We are most definitely NOT watermelon experts…just sharing what we learned from our experience):
- Flip the watermelon over and check the color of the bottom. An olive oil color is ideal…if it’s still white or really light, it is a no go!
- Tap the watermelon with the palm of your hand. The melon should sound really hollow.
- Look at the “spoon” and the “tendril” of the watermelon. The spoon is a small leaf close to the melon, and the tendril will be the one closest to the melon. Both should be completely brown. If they are green, the melon is not yet ripe.

- Make sure you have PLENTY of room when planting watermelon. I would say that our plant is about 10′ long and 8′ wide…and growing.

Our watermelon are delicious AND they are coming at the perfect timing (you know…when fall is just around the corner), allowing us to enjoy summer just a little longer!
If you have any other watermelon tips or secrets I would love to hear them…
