Every year our family makes Christmas gifts for our friends and family (and teachers, bus drivers, trash collector, etc). Not only is it something fun to work on, but we love the appreciation homemade gifts get- there is something so comforting in receiving a gift that had some thought go into it and was made with love!
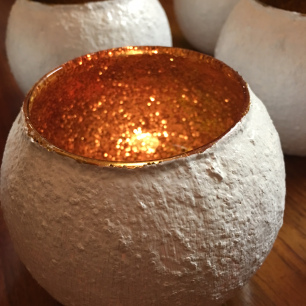
When I was browsing around in one of our local boutiques several months back, I found some beautiful candle holders. Flat white outside, and glittery gold inside. They were adorable! The con- they came in at $20 a piece! A little out of my price range for candle holders.
When Christmas gift planning and budgeting started this year, I thought about those candle holders…and wondered whether they were something I could imitate at home. And so I did…with my own Christmas flare!
Not only did our homemade candle holders turn out super cute, they were really inexpensive! I ended up making 6 candle holders for a about $23 (just short of $4 each)! Take that $20 candle holders.
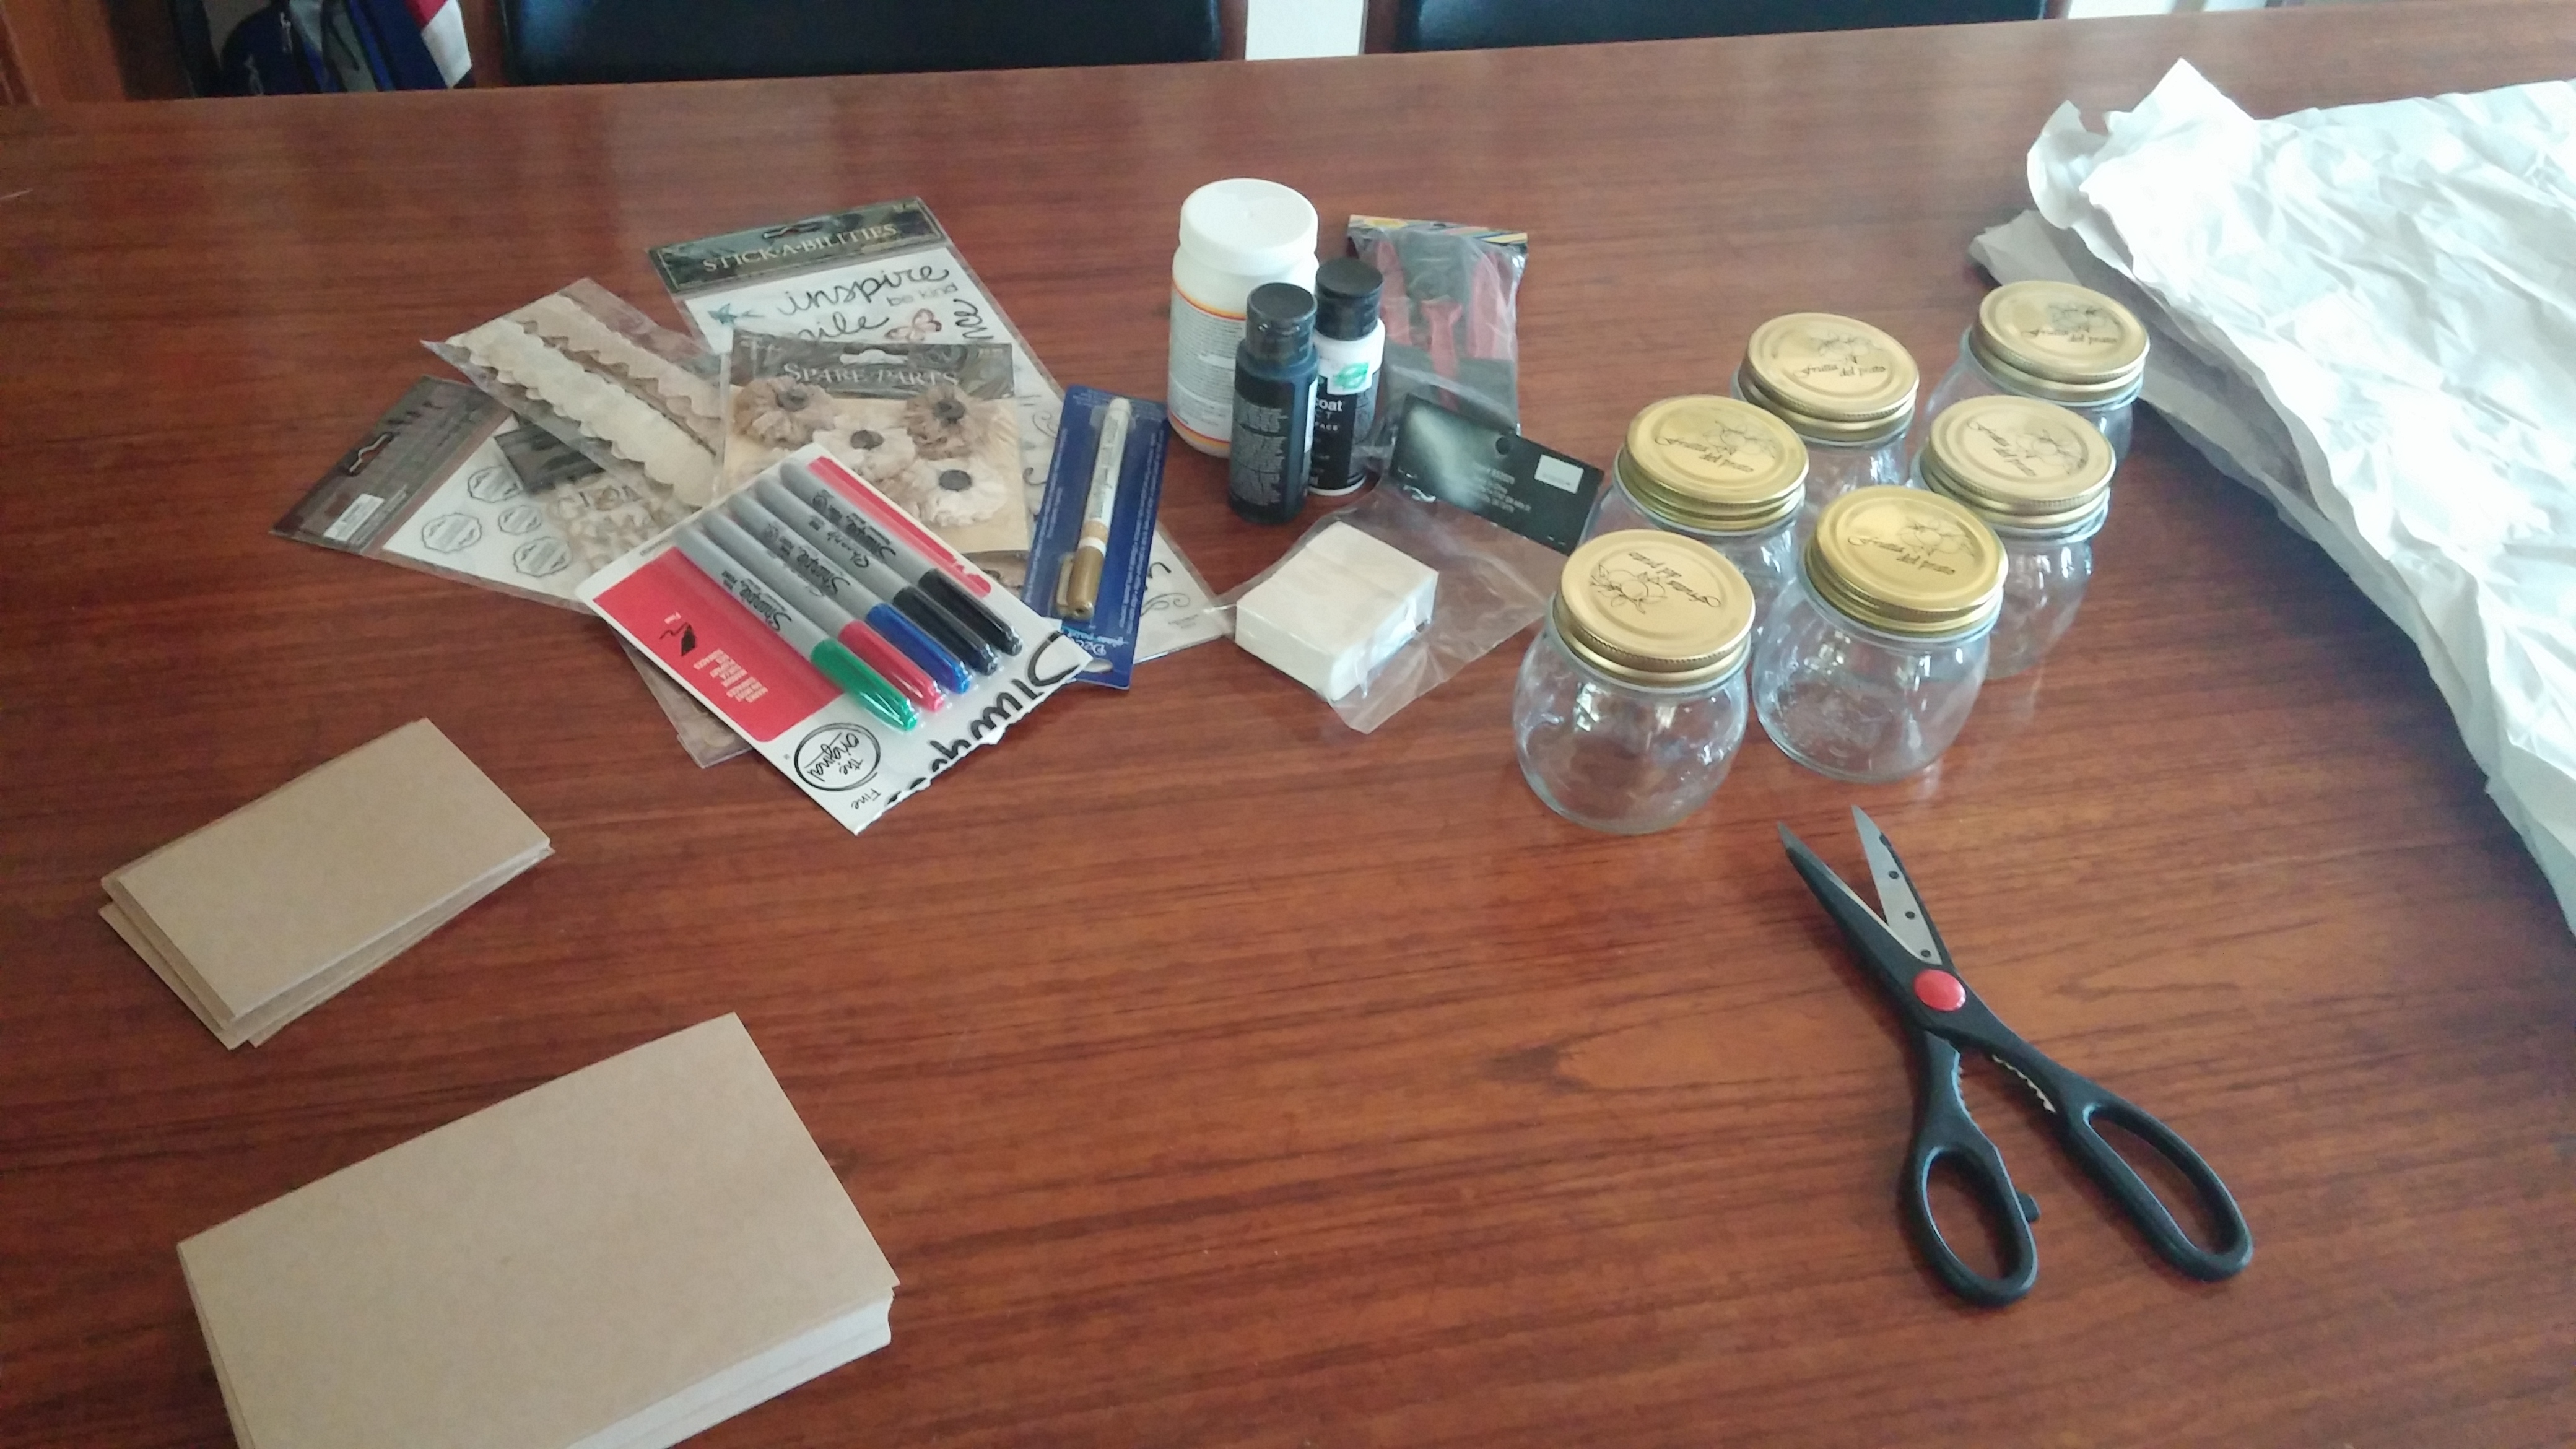
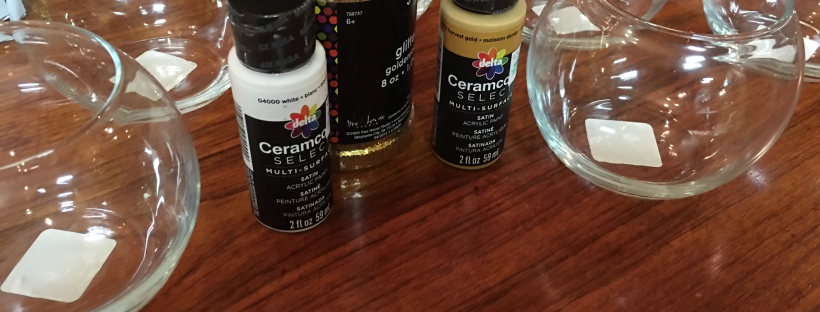
- 6 glass Candle Holders- $1 each at Dollar Value ($6 total)
- Gold Glitter – $4.99
- White Multi-Surface Acrylic Paint – $1.49
- Harvest Gold Multi-Surface Acrylic Paint- $1.49
- Matte Mod Podge – $6.99
- Gold Oil-Based Sharpie- $1.69
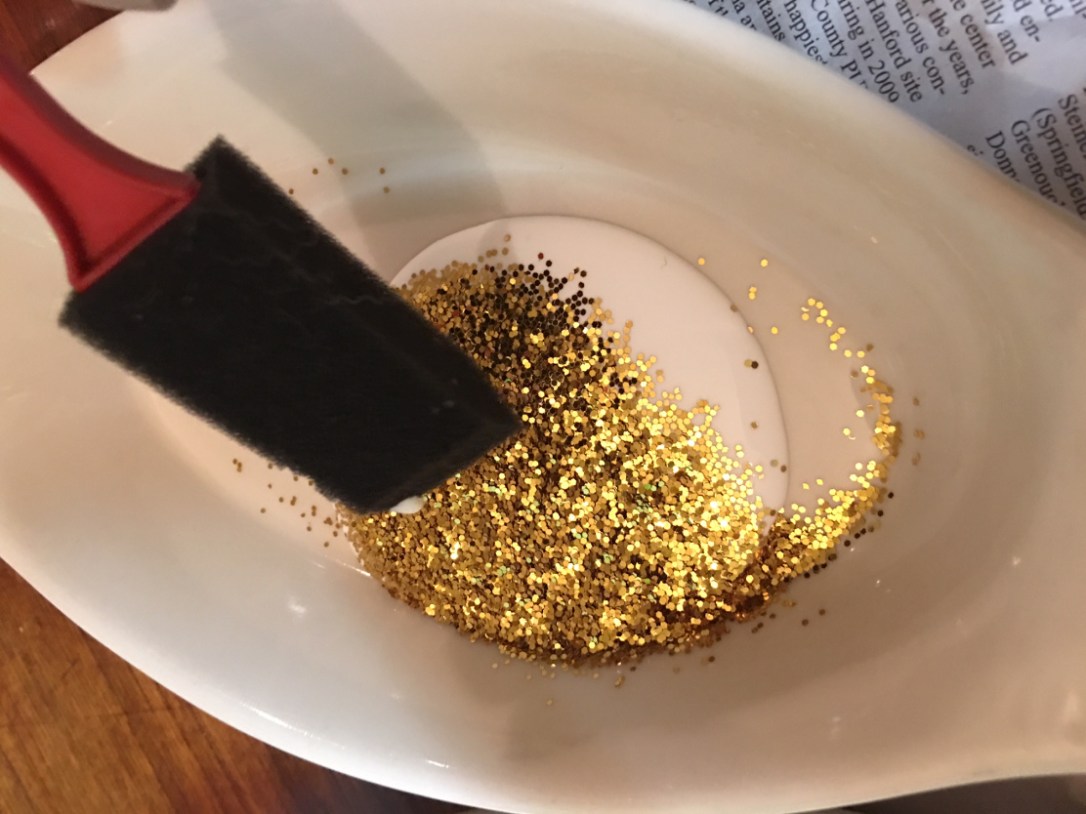
Clean the candle holders thoroughly, making sure it is completely dry before you begin. Mix Mod Podge with glitter (I used a lot to make sure the mixture was thick with glitter).
Paint the Mod Podge/glitter mixture onto the outside of the candle holder, spreading glitter as evenly as possible. Allow to dry and apply a second layer of mixture if needed. The goal is to have as much of the holder covered with glitter as possible. Note: The picture below is after only one layer.


Once Mod Podge/glitter mixture has completely dried, apply gold acrylic paint to outside.
Again, allow to dry before covering the gold paint with two layers of white acrylic paint (drying between layers). Note: The picture below shows one layer of white. You will need two to cover all traces of gold on the outside.


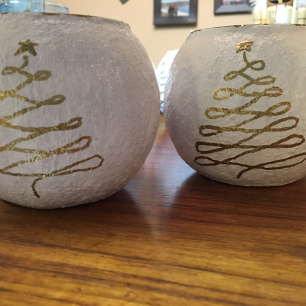
I added my Christmas flare, with a hand drawn gold Christmas tree using the Sharpie. The gold really pops when you have a candle inside, shimmering with a little Christmas charm ❤
A super easy and inexpensive gift that is cute and made with love! Enjoy all and Merry Christmas!!