cook

Italian Citrus Turkey Casserole

Last night my husband and I were able to celebrate another successful healthy, kid-friendly, recipe! Kids ate (almost) everything on their plate, and didn’t even bat an eye at the garbanzo beans, which are usually a definite no-go. This is a super easy recipe that anyone can do and it came in at only about 375 calories per serving (before the rice).
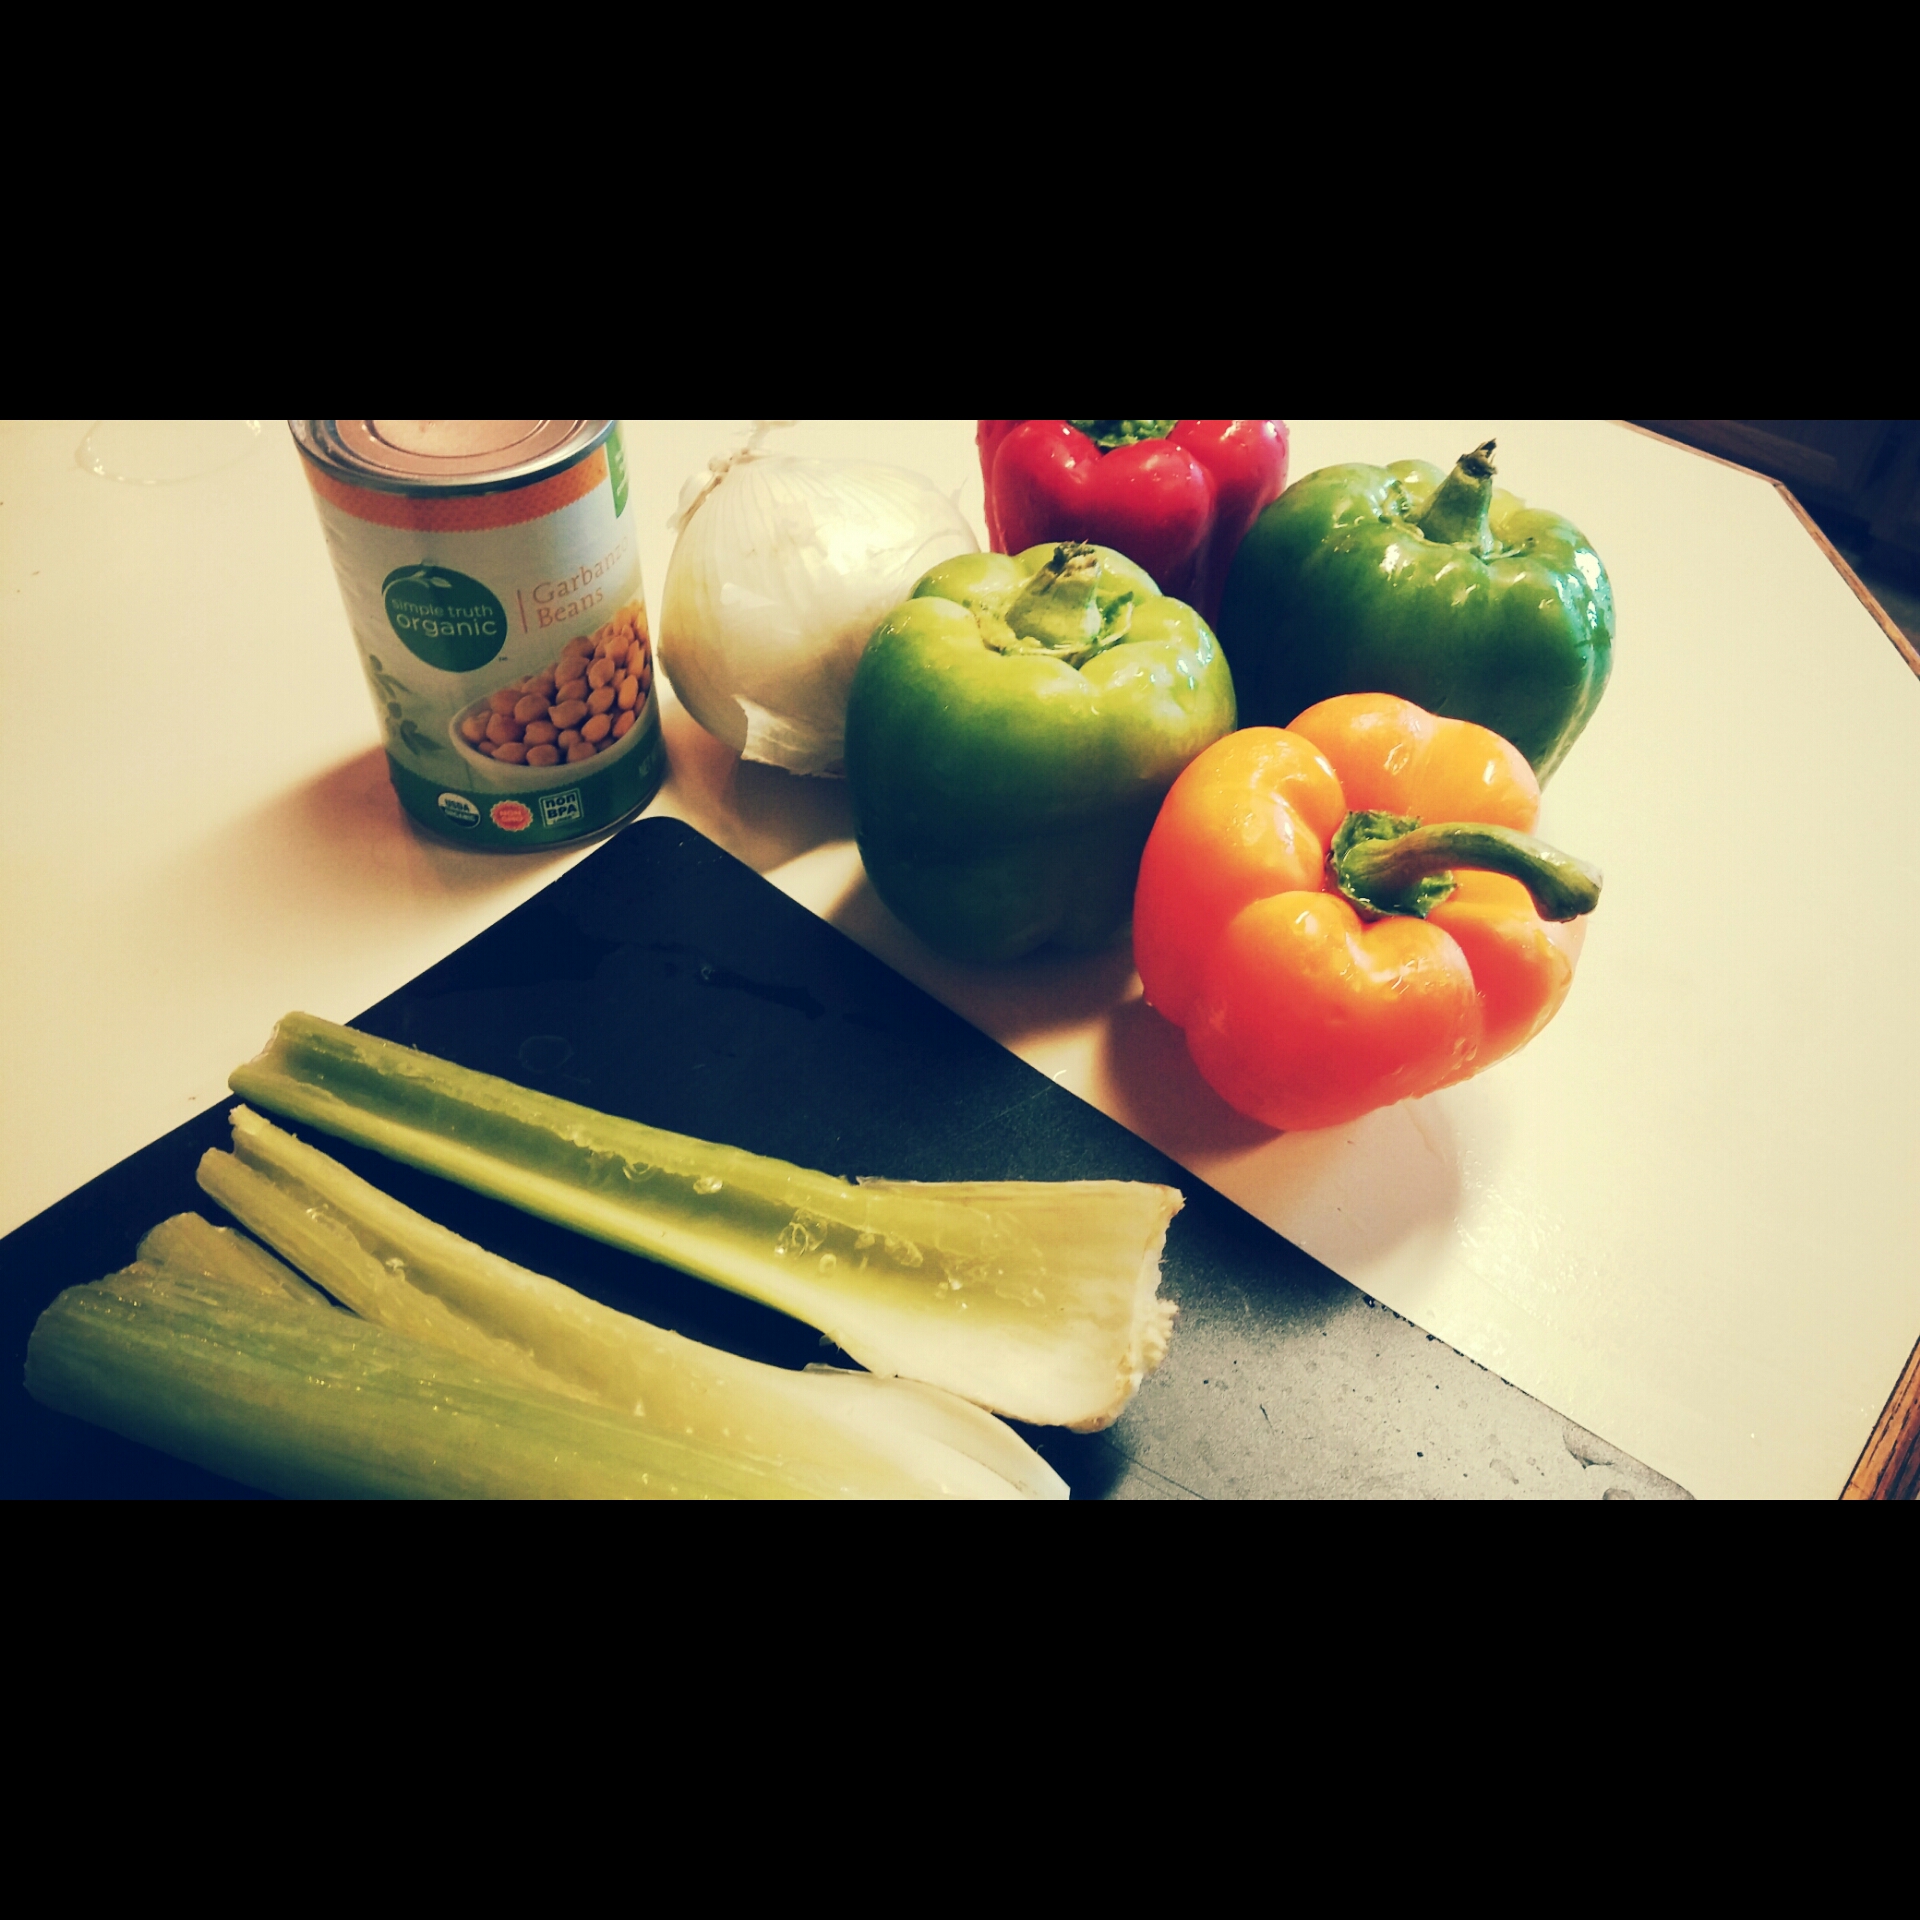
Ingredients:

PhotoGrid_1442938324575

  • 1 lb ground turkey (I apologize that the protein in this one is ground turkey again…we eat it a lot…I promise to get some different meats up here for you soon)
  • 1 can organic garbanzo beans
  • 4 bell peppers of your choice- chopped (I used 2 green, 1 red, and 1 orange)
  • 4 stalks of celery- chopped
  • 1 medium white onion- chopped
  • 2 cloves garlic- minced
  • 1/4c lemon juice
  • 1/4c Italian dressing
  • 2Tbsp EVOO (A note for those of you who are used to soupy/saucy casseroles…this is NOT one! This dish is about 99% substance and only 1% liquid, so expect only a small amount of citrusy fluid on the bottom of the casserole dish once cooked)
  • 1 1/2c shredded mozzarella cheese

Directions:

PhotoGrid_1442938365900

  • Cook ground turkey on stovetop over medium heat until brown
  • While turkey is cooking, chop peppers, celery, and onions and combine with minced onion, garbanzo beans (drained), lemon juice, EVOO, and Italian dressing in a large bowl. Mix well, making sure all ingredients are coated with dressing/oil/juice mix
  • Add turkey to vegetables and, again, mix well
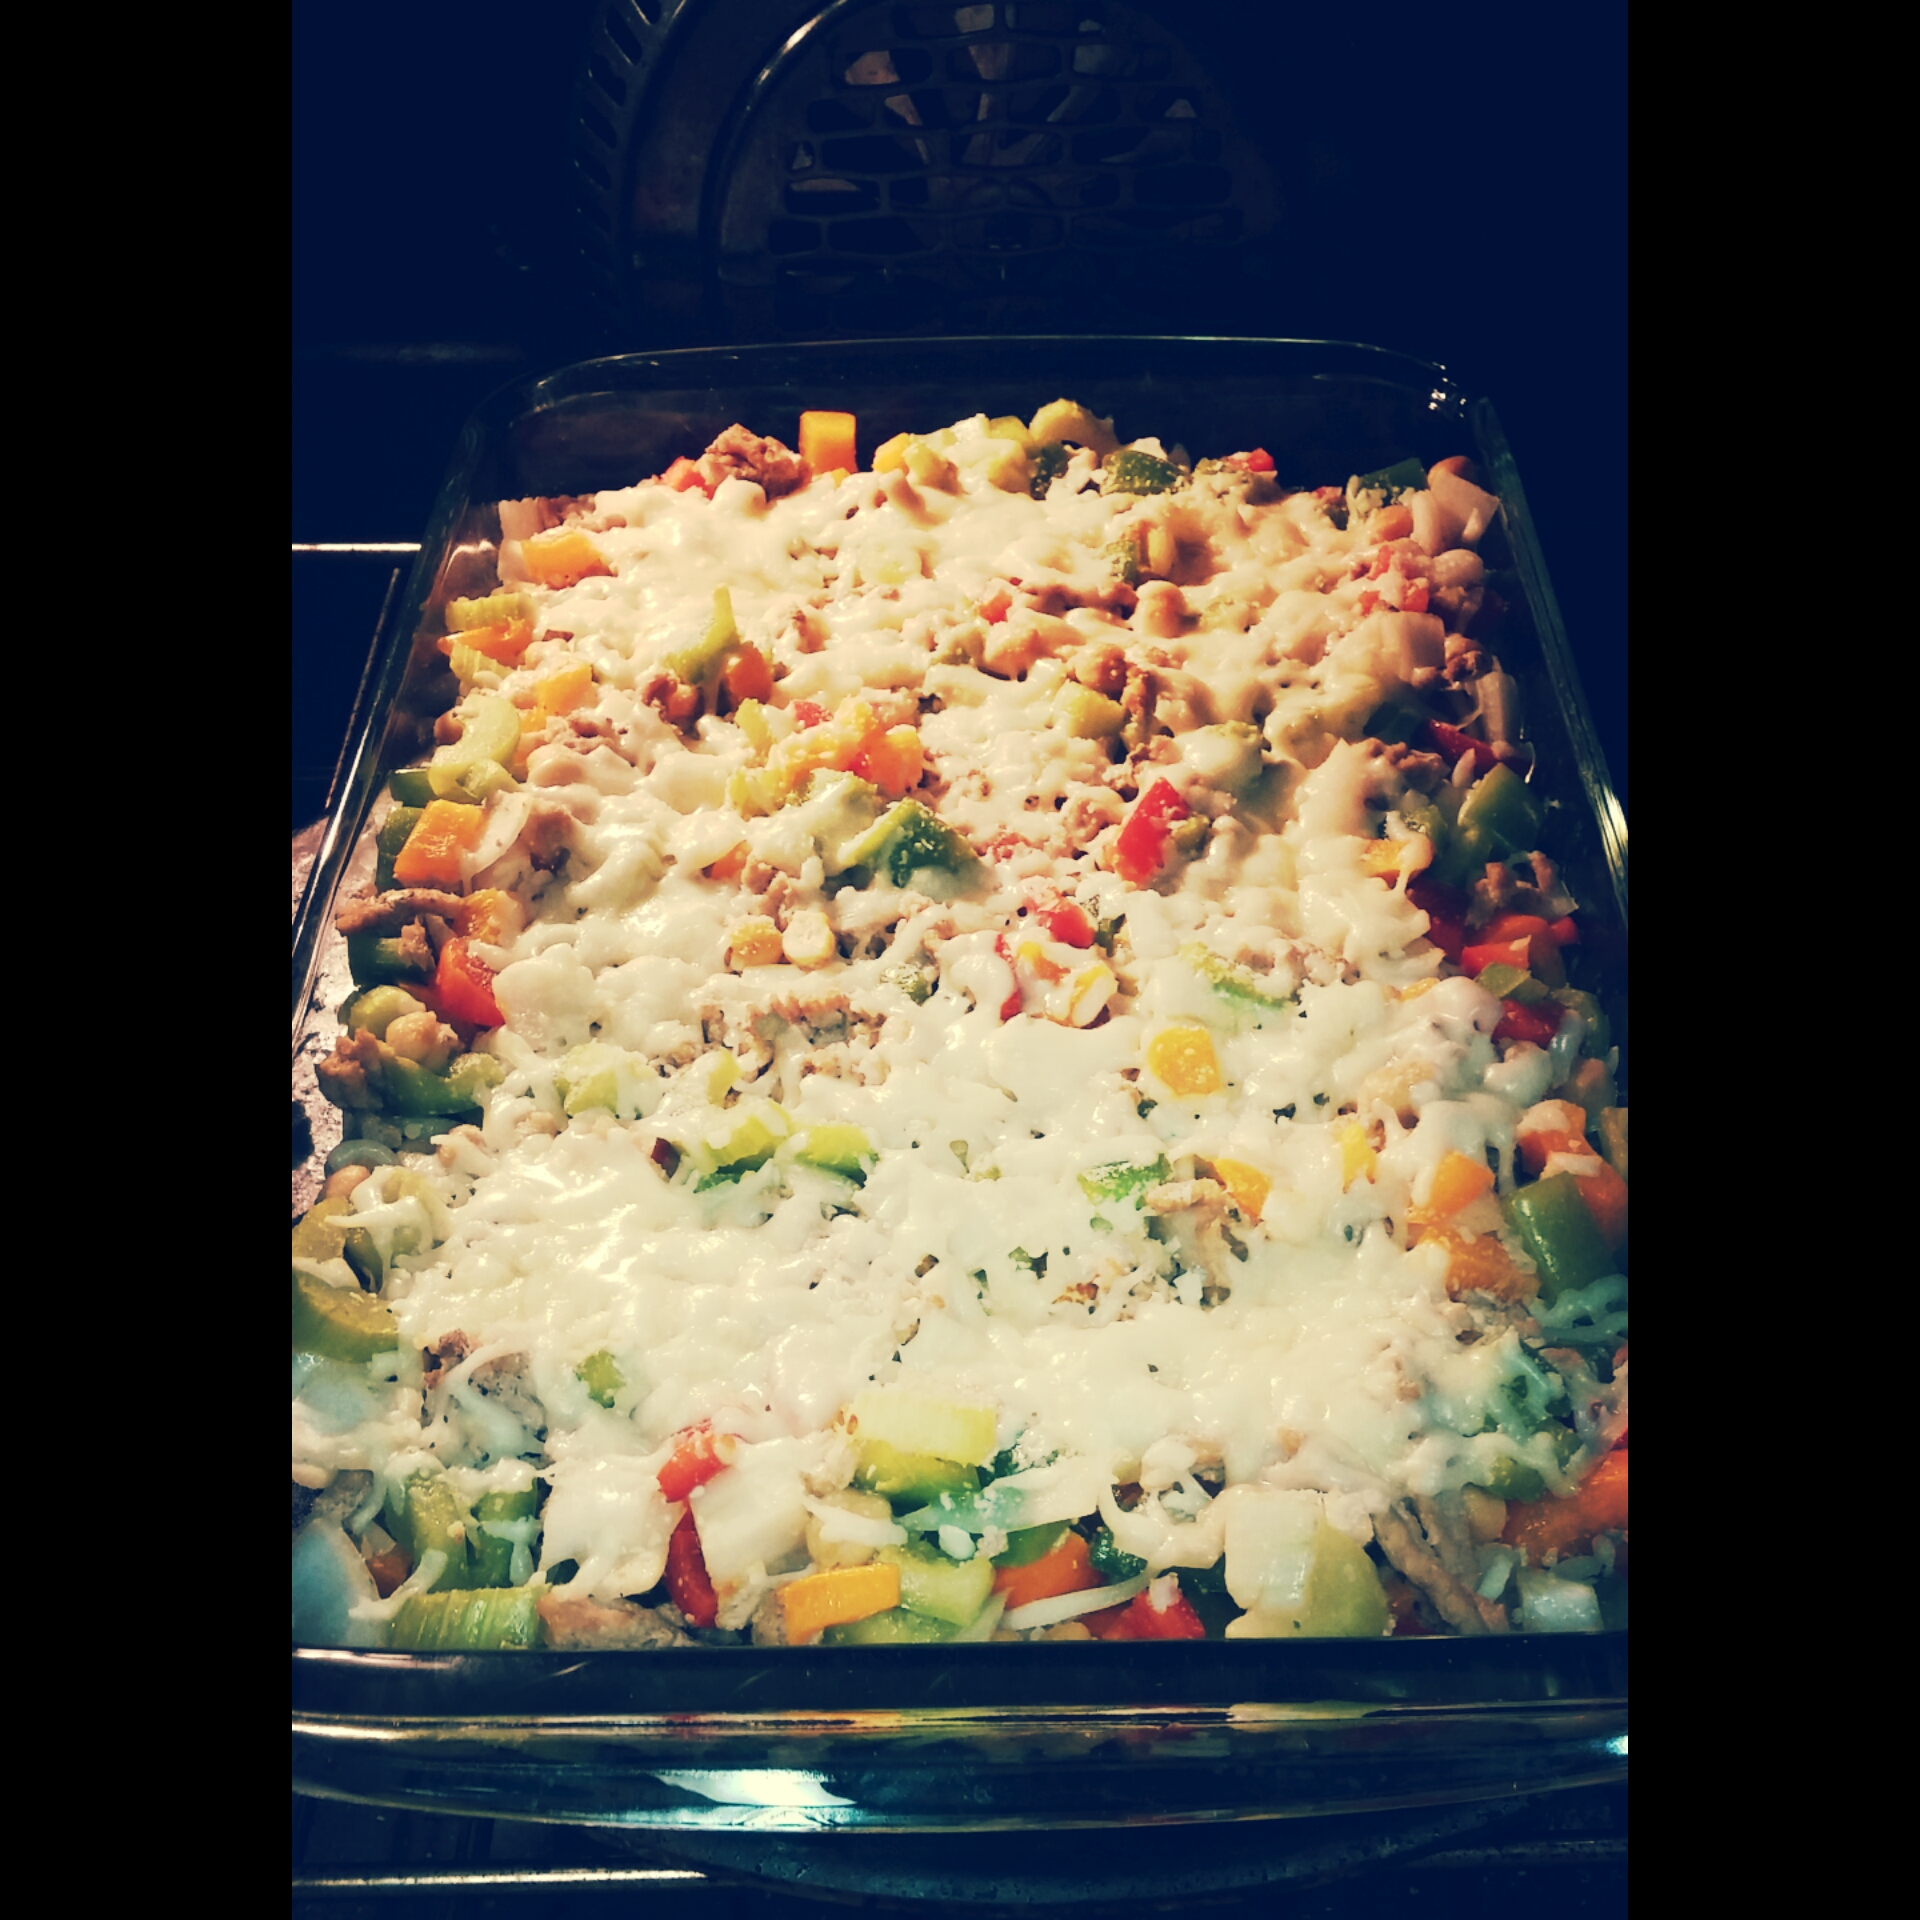
  • Transfer to a casserole dish and top with shredded mozzarella
  • Bake at 350˚ for 30 minutes

PhotoGrid_1442938529279

This whole dish took only about 20 minutes to prepare, which I was able to do before soccer practice (hurray! for all you multi-tasking mommas). We served ours over rice, which was absolutely delicious.

A big bonus for this recipe was the many colors of the dish…colorful dishes are always a win in our house! If you haven’t experienced eating with color, check this article out before you go…Colorful Eating Has Health Benefits

I hope you all enjoy!! Until next time…

clean

Cleaner, Fresher, Healthier, Cheaper Glass Cleaner

With young kids in the house, I am continually trying to find cleaning products or “hacks” that I can make or use that will not throw so many chemicals onto our home’s surfaces, or into the air. Another big draw to most homemade cleaning products, for us, is that most of the ingredients are those we already have around the house, meaning less store runs and less out of pocket expenses.

One of those cleaning products that I have recently replaced with a homemade formula is our glass cleaner. The homemade glass cleaner we use is not only made entirely of products we keep in the house at all times, but it is also made with inexpensive products and can be “customized” to suit your own families needs and preferences.

Take a look at the ingredients listed in a popular blue glass cleaner:

  • Water
  • 2-Hexoxyethanol
  • Isopropanolamine
  • Sodium Dodecylbenzene Sulfonate
  • Lauramine Oxide
  • Ammonium Hydroxide
  • Fragrance
  • Sky Blue Dye
Now for the ingredients (recipe) in our homemade cleaner:PhotoGrid_1441480129024
  • 2 cups water
  • 1/4 cup Rubbing Alcohol
  • 1/4 cup White Vinegar
  • 1 TBSP Corn Starch
  • 5-6 drops Essential Oil of your choice (I use Lemon Oil, but think Peppermint or Lavender would work well too)
  • Mix well in a bowl so that all Corn Starch is emulsified and transfer to a spray bottle for use

PhotoGrid_1441480185942

**A quick note on the Essential Oils- if you don’t have them in your home, or use them, I highly recommend them! We love our doTerra Family First Aid Kit…and use it for everything from headaches and allergies to wound care and cleaning.

PhotoGrid_1441480155483

This glass cleaner produces great results and is safer for the family (note that it does still have Rubbing Alcohol). No way would I go back to the blue stuff…

PhotoGrid_1441480341050
cook, grow

Homegrown Watermelon

Who doesn’t love a little watermelon?

PhotoGrid_1441056718335

This year, when we were picking out plants to put in our garden, my children chose a watermelon plant to add to our berries, herbs, and lavender. We had never planted watermelon before so we weren’t sure what to expect (or how much room was needed). We picked a small area in the corner of our garden and went for it.

Our watermelon plant came in one of those pre-planted “pots” that are biodegradable and require only that you remove the bottom when planting, so it was super easy to plant. A month or so down the road, with some dedicated watering by the kids, the vine started to take off…and by take “off”, I really mean take “over”! The vine literally meandered its way throughout the entire garden, blocking out other plants and moving up walls and fencing. Despite the giant vine though, there were no watermelon in sight.

Last year we had a similar experience with pumpkins…the plant itself grew massive but no pumpkins came before picking season so we pulled it (next time we will find a better location with more room so it can stay!). We thought our watermelon was going to see a similar end…and then it happened! Adorable little melons started popping up everywhere! A little more TLC, and a few more months, and they were looking ripe for the picking.

My husband (let’s be honest, he’s the green thumb of us two) started his research, and found a few things about how to tell if the watermelon was ripe (the thumping doesn’t always give you the right answer…our first “hollow sounding” melon was white on the inside…oops!), how many watermelon each vine should grow (we have about 10 growing now…more than what he read was the “normal”), etc.

PhotoGrid_1441056598392

Here is a basic breakdown of what we found in our first year (DISCLAIMER: We are most definitely NOT watermelon experts…just sharing what we learned from our experience):

  1. Flip the watermelon over and check the color of the bottom. An olive oil color is ideal…if it’s still white or really light, it is a no go!
  2. Tap the watermelon with the palm of your hand. The melon should sound really hollow.
  3. Look at the “spoon” and the “tendril” of the watermelon. The spoon is a small leaf close to the melon, and the tendril will be the one closest to the melon. Both should be completely brown. If they are green, the melon is not yet ripe.PhotoGrid_1441056636444
  4. Make sure you have PLENTY of room when planting watermelon. I would say that our plant is about 10′ long and 8′ wide…and growing.

Our watermelon are delicious AND they are coming at the perfect timing (you know…when fall is just around the corner), allowing us to enjoy summer just a little longer!

If you have any other watermelon tips or secrets I would love to hear them…